

Recommendation: Choose a single AI-powered editor and a simple template, then craft a brief script and assemble assets to finish a pro-quality clip in 20 min.
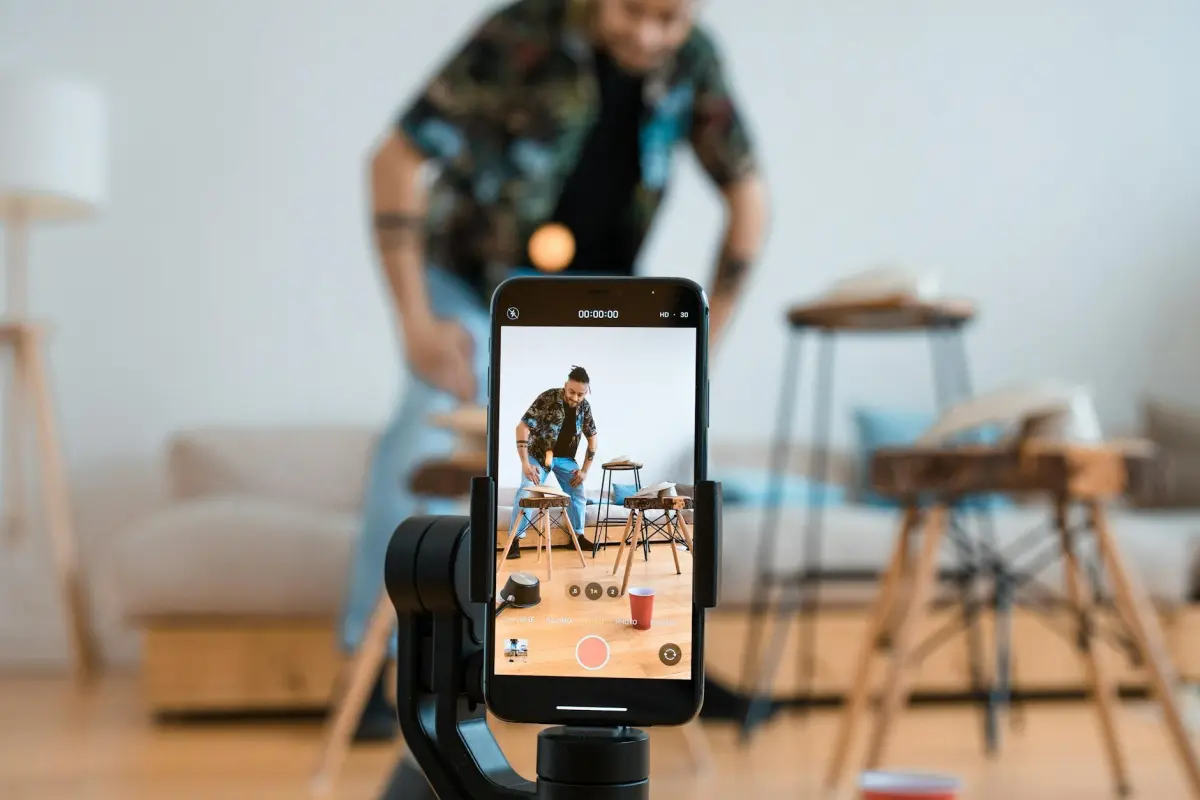
The engine relies on algorithms to translate a brief script into multiple scenes, drawing image assets, colors, and formats. You might often rehearse a short voiceover and change cadence to influence the outcome. You can download exports to simplify posting to tiktok and other formats, and the workflow can be completed without deep technical steps, keeping it accessible to beginners.
Assign a nick to each draft to track changes; this keeps the trajectory clear and reduces slow cycles, speeding up the overall process and sharpening the final outcome.
Structure your workflow around three core formats: vertical 9:16 for tiktok, square 1:1 for feeds, and horizontal 16:9 for long-form. Keep the story brief, test multiple color palettes, and rehearse pacing to avoid slow exits; this approach boosts retention across formats.
To maximize accessibility, produce captions automatically and ensure image contrast remains legible on mobile screens. Discover practical shortcuts such as reusable templates and a library of assets that support quick iterations, might boost retention and broaden reach across formats.
AI Animoto Video Creation – Quick Plan for Global Localisation

Recommendation: sign off a 72-hour batch sprint that localizes captions, overlays, and voice cues across core markets, then validate using a small panel of testers before scale.
Tutorials for writer and marketers are essential; provide a compact scripting blueprint that fits the budget and keeps busy teams efficient. Use a toolbox of free, reusable templates to drive high-impact results.
Selecting languages and locales requires a clear matrix: target market, cultural nuances, and regulatory notices. When choosing, align assets to traditional vs digital-first media, and map typography, color, and pacing to local tempo.
Process flow: repurpose existing assets via a batch update, replace flagged items, and iterate after crowdsourced feedback in forums. Track clicks and views to quantify impact; adjust tempo and scripting for next run.
Budget and performance: allocate a lean budget for initial localisation, then reinvest based on results. Use free or low-cost templates to test concepts; scale only after a sign of engagement from users and the company stakeholders.
Engagement: this plan replaces slower traditional workflows and simplifies collaboration across forums and internal channels. Busy users see quicker feedback loops; thanks to this plan, company marketers gain clear sign data on engagement, while writers and testers iterate on language and pacing.
Outline Your Story in 5 Minutes with AI Prompts
Recommendation: Draft five prompts now to outline each scene, then drop assets into your timeline and connect them via a clear narrative arc. Keep prompts brief–less than 20 words–and anchor each to a single location, character, or action. This quick start helps non-experts produce coherent storytelling in seconds.
Step 1 – Genre, visuals, and placement: Define genre, target audience, and looks. Decide where the story begins, where color tones shift, and exact aspect ratio. Use one line per beat to map time and tempo.
Step 2 – Prompt craft: Craft five prompts that describe action, setting, and emotion. Each prompt should include a verb, a location, and a visual cue. Include background options such as stills, looping backgrounds, or generated scenes. Save assets as free resources or created assets from Kapwing and Filmora libraries.
Step 3 – Timeline mapping: Map prompts to a timeline in seconds per beat. Use a 7-day integration plan to review progress in forums, get feedback from non-experts, and adjust narration. Use the telling line to guide narration and the visuals for pacing.
Step 4 – Asset gathering: Gather assets: look for exact assets that match type and backdrop. Try multiple backgrounds for the same scene and select the best look. If you cannot find matches, create visuals using Kapwing or Filmora, then export versions in several aspect ratios for testing.
Step 5 – Export and test: Export the compiled sequence and review in the editor's preview. The process completes in seconds, adjust pacing in the first pass, and re-export. Ensure the final cut is free to share and easy to distribute on forums or advertiser channels.
Extra tips: Label each beat with a timecode, then attach a telling line directly to the prompt. Use the first shot to establish mood, the middle beat to shift pace, and the final beat to signal export readiness. When finished, push the button to render a full preview and iterate quickly.
Select a Template, Upload Media, and Sync Visuals
Choose a template that matches the audience and the outcome; this frame sets rhythm, color balance, and typography before media is added.
-
Template choice
- Match themes and styles to the topic and audience mood.
- Confirm the template offers room for captions, logos, and callouts, supports branding across layouts, and can handle the length plus more for emphasis.
- Preview a short demo sequence to verify pacing and the potential for new transitions.
- Look for a structure that supports higher resolutions and flexible timing to improve success.
-
Upload media
- Prepare images and clips in high resolution; use 16:9 or 9:16 as appropriate for the audience and platforms.
- Batch media by scene and keep file names clear to speed up assembly for teams.
- Place branding assets (logo, colors, fonts) in a dedicated folder to support consistency across themes and styles.
- If you include filming footage, ensure color and lighting remain consistent and that file sizes stay manageable.
-
Sync visuals
- Link visuals to the script sentences; adjust timing so each point lands on the narration, ensuring clarity for the audience.
- Tweak timing and transitions to hit key beats; frequently review the result from an audience perspective to catch misalignments early.
- Fix misalignments quickly by refining keyframes or trimming clips; log fixes to reuse in future edits, and write notes for them to the team to avoid misconceptions.
- Keep the flow clean: stand out essential points with restrained motion and align with the general tone, avoiding fatigue for tired viewers.
Generate AI Voiceover and Align Audio to Scenes
Recommendation: Use kapwing AI voiceover to generate a natural narration and lock it to the timeline for precise scene matching.
Begin with a tight script mapped to objectives; keep segments short to fit twenty seconds per image and maintain a creative flow across the sequence.
Set voice parameters: tone options, gender, speed range 0.8-1.15, and pause lengths; monitor sounds to maintain clarity across all connections.
Align to scenes: place each audio block at image transitions; use where the script signals a change in mood or setting while preserving quick pace.
Optimization: apply customization such as pauses, emphasis, and compression; the summary of edits should reflect the change and keep the flow steady.
Tips for mood control: a summer vibe benefits from brighter timbre; a tired character benefits from slower cadence; ensure image and narration stay in sync for creative impact.
Workflow advantage: simplifies generating vocal content, reduces back-and-forth, and provides a clear timeline that supports twenty-percent faster iteration; thanks to this workflow, teams can publish sooner.
| Step | Action | Tool / Notes | Duration |
|---|---|---|---|
| 1 | Prepare concise script | Objectives aligned; image cues noted | 2-3 |
| 2 | Generate AI voiceover | kapwing; choose tone; set speed | 1-3 |
| 3 | Align to timeline | Place at scene transitions; adjust pauses | 2-4 |
| 4 | Fine-tune audio | Compression, gain; normalize to -12 to -6 dB | 1-2 |
| 5 | Preview and export | Check summary; adjust if needed | 1 |
Subtitle, Localise Text, and Adapt Visuals for Target Markets

Begin with one-line subtitles that are written for each market, ensuring the hook matches local pace and reading rhythm.
Execute uma passagem de detecção para identificar o texto na tela e aplicar traduções sem sobrecarregar, mantendo as legendas legíveis em telas de dispositivos móveis.
Usar técnicas de cursos de referência ajuda a pensar sobre tom, imagens e sinais culturais antes de entrar em produção.
Crie uma lista de verificação de localização e uma biblioteca de modelos para acelerar a criação e a produção, com terminologia e tom consistentes em todos os mercados.
Planeje horas e tarefas: atribua funções, estime horas e rastreie o progresso com checkpoints.
Visuais aperfeiçoados: ajuste paletas de cores, tipografia, ícones e imagens para se adequar às preferências regionais; teste com pequenos grupos em dispositivos.
Ativos focados no Instagram: personalize legendas, hashtags e miniaturas para comunidades, integrando referências locais e comportamento do usuário.
CQ manual: revisões de falantes nativos, detecção de erros de tradução e testes de tamanho de fonte para garantir a legibilidade em vários dispositivos.
Mantenha tudo registrado em uma biblioteca de referência viva: notas sobre tom, uso de imagem e restrições de política; seus ajustes informam os ciclos futuros.
Verificação final: evite estereótipos, mantenha a acessibilidade e otimize para o Instagram e outras comunidades sem sacrificar a clareza.
Exportar, otimizar formatos e publicar com metadados locais
Exporte em 1080p, 30fps, MP4 usando H.264 e AAC 192 kbps. Essa configuração ajuda você a obter ampla compatibilidade entre dispositivos e plataformas; esses parâmetros são necessários para ampla distribuição.
Ative predefinições baseadas em IA para adaptar a taxa de bits dinamicamente por cena, preservando movimento e detalhes; correções automatizadas de cor e luz preservam um tom natural e garantem que a reprodução seja suave.
Divida o fluxo de trabalho em uma linha do tempo de tarefas: renderizar, codificar e anexar metadados locais; mantenha uma referência para coordenar uma atualização.
Os campos de metadados locais devem incluir Título, Descrição, Tags, Criador, Localização, Direitos Autorais, Licença e Timestamp; incorpore no cabeçalho do arquivo ou armazene sidecar para referência offline.
Use formatos que preservem metadados: XMP ou IPTC em sidecar paralelo; incorpore campos essenciais nas caixas de metadados MP4 quando possível; mantenha uma referência JSON separada para publicação em lote; se você depender de estoque, credite as fontes nos metadados.
Publique em seu canal de distribuição em uma única passagem; verifique se a resolução e a proporção atendem aos requisitos da plataforma; selecione um modo de entrega amigável ao dispositivo; anexe arquivos de legenda e faixas de áudio alternativas; confirme se os metadados permanecem intactos após o upload.
Assista a visualizações em smartphones, tablets e desktops para verificar a reprodução; garanta a precisão das cores sob luz variada, confirme as dicas de estoque e verifique a sincronização de áudio.
Uma lista de verificação dividida controla as configurações de exportação, os campos de metadados e a linha do tempo de lançamento; consulte o pipeline exato para manter as notas sincronizadas ao longo da jornada; obrigado.


