

Empieza con un fotograma fuente limpio donde el área esté completamente libre del elemento. Para principiantes, este paso necesario crea una base segura: nunca continúes con un fotograma que muestre remanentes, o verás uniones. Mantén el área intacta hasta que estés listo para finalizar los retoques.
Acércate al área objetivo para mapear los bordes con precisión, utilizando una interfaz sensible. Elige una función sólida como clonar o curar para recrear texturas, luego compara con los píxeles adyacentes para asegurar la fidelidad. en Photoshop, aplica el conjunto de herramientas deliberadamente y comienza con retoques pequeños y controlados para mantener las transiciones naturales. Estos pasos son ideales para creadores que comenzaron con proyectos simples y ahora buscan resultados más limpios.
Después de la primera pasada, inspecciona fotograma a fotograma para evitar dejar artefactos. El objetivo es eliminar las discrepancias sin crear otras nuevas; ajusta la mezcla para que coincida con la iluminación y las sombras. Cuando algo se vea borroso, aplica un pincel más ajustado y aumenta el desvanecimiento donde sea necesario. Si algo no se ve bien, nunca confíes en una sola pasada. Usa la interfaz para previsualizar los resultados y asegúrate de que los cambios nunca llamen la atención.
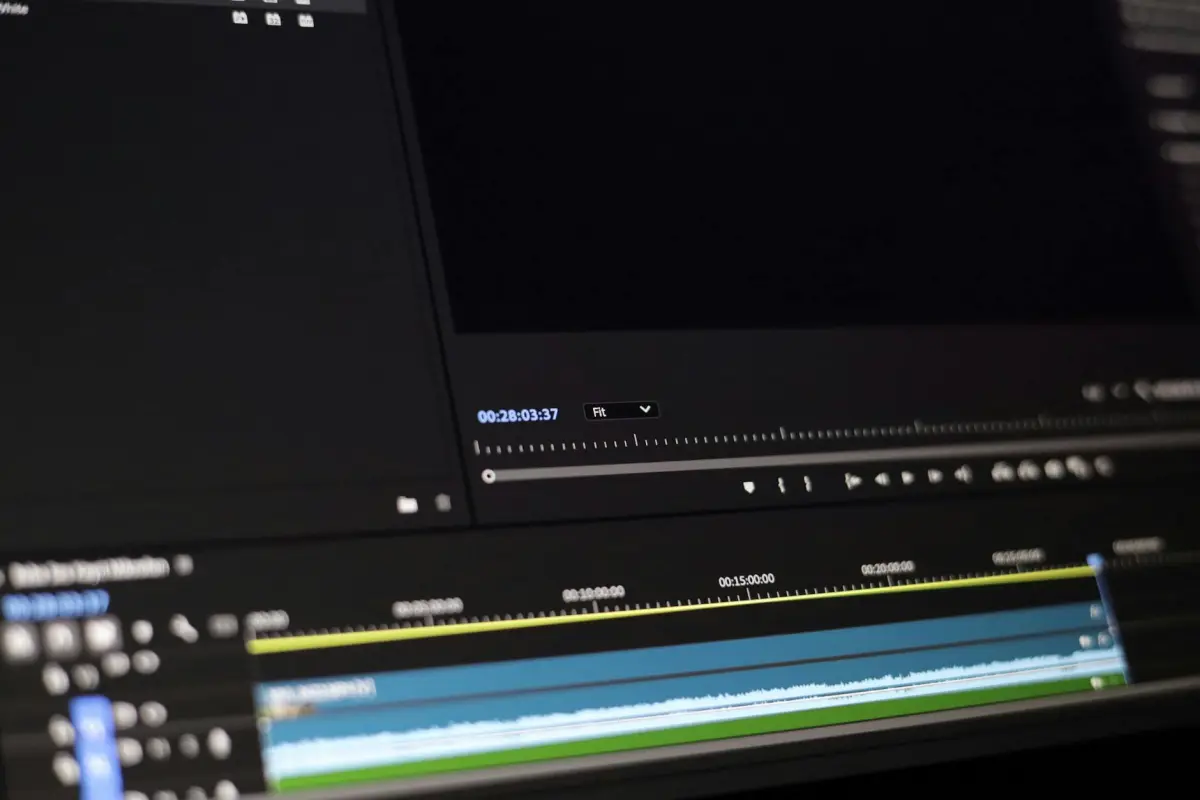
Finalmente, exporta la secuencia con un método seguro y completamente documentado. Para flujos de trabajo de vanguardia, guarda preajustes que automaticen los pasos de recorte, enmascaramiento y relleno; esto ayuda a los creadores a recuperarse rápidamente si necesitas volver a verificar. Si comenzaste recopilando múltiples fotogramas fuente, aplica el mejor inmediatamente y verifica la consistencia en la línea de tiempo. La interfaz debe admitir el cambio rápido entre las versiones original y procesada para confirmar que lograste la eliminación sin comprometer la calidad.
Flujo de trabajo práctico para eliminar un objeto utilizando una imagen de referencia
Comienza cargando un fotograma guía que muestre el área detrás del elemento. Esta fuente ayuda al algoritmo a igualar la textura y la iluminación en toda la secuencia, permitiendo una mezcla suave y preservando la coherencia de la escena.
Dibuja un storyboard que siga la posición esperada del área en tres fotogramas planificados, aclarando dónde debe ocurrir el relleno y qué textura clonar.
Genera una máscara aproximada para separar el área no deseada, luego refina los bordes para preservar el detalle. Utiliza una transición desvanecida para evitar bordes duros.
Iguala el color y la iluminación muestreando píxeles cercanos y aplicando ajustes locales; el flujo de trabajo rápido utiliza un relleno basado en parches y una inpainting donde existen patrones para reproducir la textura con precisión.
Itera inspeccionando tres fotogramas de muestra y anotando cualquier signo de desajustes; ajusta el tono, la saturación y el brillo hasta que el resultado se mantenga pulido.
Las opciones de exportación incluyen webp, que ofrece una huella pequeña mientras preserva el detalle; mantén una versión de alta calidad para la aprobación y verificaciones rápidas.
Los errores comunes incluyen dejar uniones visibles, mezclar en exceso o introducir distracciones; revisa frecuentemente la salida en diferentes escalas para asegurar la consistencia.
Consejos finales: utiliza tales pasos para mantener la toma cohesiva, evitando fugas de marcas de agua y preservando tres detalles clave que coincidan con la iluminación, la textura y la perspectiva.
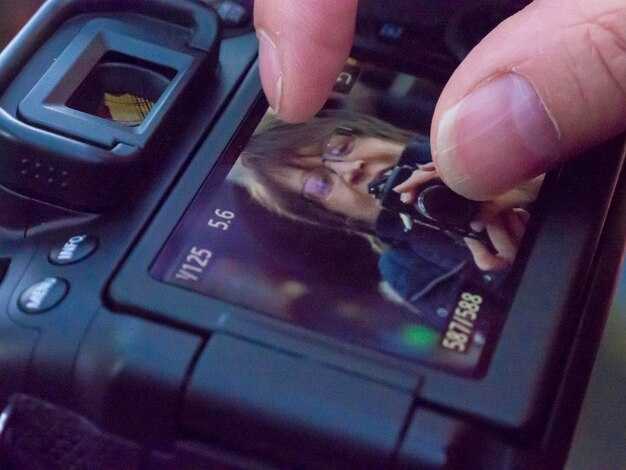
Selecciona o captura un fotograma de referencia limpio que contenga el área a editar
Elige un fotograma objetivo donde el área a modificar se encuentre sobre un fondo limpio, sin movimiento ni oclusión. Utiliza un trípode, bloquea la exposición manual y el balance de blancos, y dispara a la resolución práctica más alta (RAW preferido, o JPG de 12 bits). Este enfoque reduce los retoques posteriores en la postproducción y ayuda a entregar resultados impresionantes de inmediato.
Mantén el ángulo de la cámara y la distancia consistentes con las escenas circundantes para preservar la perspectiva. Si debes tomar nuevas fotos, un encuadre idéntico facilita mucho la regeneración de detalles y minimiza las inconsistencias fotograma a fotograma que podrían frustrar tanto a los creadores como a los espectadores.
Inspecciona el área en busca de logotipos o elementos de marca de agua. Si forman parte de la zona que planeas modificar, elige un fotograma donde estas marcas permanezcan planas y uniformes, para que puedan aislarse o eliminarse limpiamente. Si un logotipo distrae y no es esencial, elige una imagen con un fondo más simple para simplificar la tarea.
Prefiere escenas que muestren el área de edición claramente y sin distracciones. Los fondos limpios reducen la posibilidad de desalineación durante los pasos posteriores, y también aceleran el flujo de trabajo cuando compartes contenido con colaboradores o haces preguntas para obtener comentarios.
Cuando no puedas volver a capturar, selecciona fotogramas que sean lo más representativos posible de la iluminación y el color en toda la secuencia. Normaliza el brillo promedio y la temperatura del color en tu paso inicial para limitar los cambios de color, reduciendo así el riesgo de uniones notorias después de los retoques.
Fragmento de lista de verificación: asegúrate de que el fotograma tenga suficiente resolución, un desenfoque de movimiento mínimo, una iluminación uniforme y un enfoque estable. Si trabajas repetidamente en el mismo proyecto, toma varias fotos por escena y elige la que tenga los fondos más consistentes; este enfoque hace que la distribución de resultados a otros equipos sea más rápida y mantiene el contenido cohesivo en todas las escenas.
Alinea el fotograma con la iluminación, el color y el ángulo de la cámara de la escena
Alinear el fotograma con la iluminación, el color y el ángulo de la cámara de la escena proporciona a los espectadores una apariencia limpia y cohesiva en toda la secuencia. Esta configuración te da precisión y te permite hacer ajustes sin dejar inconsistencias en la toma, preservando la intención creativa.
Detecta la dominante de color promediando los canales de color en parches neutros; ajusta el fotograma para que coincida con el metraje de primera calidad utilizado en estudios, asegurando un estado de ánimo coherente en las ediciones.
Establece la dirección de la iluminación para que coincida con la luz principal y de relleno, luego verifica fotograma a fotograma que los reflejos y las sombras se mantengan dentro de un rango seguro; nunca permitas que ocurra el recorte (clipping).
Posiciona la cámara para que las líneas del horizonte y la geometría del sujeto se alineen; si estás en una configuración de aficionado, pequeños ajustes de ángulo aceleran el proceso y mantienen el resultado de alta calidad.
Los pasos para la alineación incluyen: evaluar las señales de luz, equilibrar el color, ajustar el ángulo, validar con una tarjeta gris neutra y volver a verificar fotograma a fotograma.
Los fotogramas editados se mantienen limpios en un flujo de trabajo de administrador de estudio premium; esto mantiene el proyecto coherente y deja un resultado profesional para los espectadores.
Para restaurar un aspecto uniforme en un clip, se puede usar el desenfoque con cuidado en los elementos del fondo, esto ayuda a dejar el sujeto principal nítido mientras se mantiene la velocidad y la precisión.
| Parámetro | Acción | Notas |
|---|---|---|
| Dirección de la iluminación | Iguala la luz principal a la escena, ajusta dentro de ±5° | Las verificaciones fotograma a fotograma apoyan la precisión |
| Temperatura del color | Promedia el color en parches neutros, ajusta el balance de blancos a 5500–6500K | Mantén la consistencia en todas las tomas |
| Ángulo de la cámara | Alinea las líneas del horizonte y del sujeto, inclina/panorámica dentro de un rango pequeño | Usa una cuadrícula como guía; asegura una alineación precisa |
| Exposición | Estabiliza el brillo, evita el recorte en las luces altas | Revisa con el histograma |
Enmascara el objeto y realiza una síntesis de texturas para rellenar el hueco
Comienza dibujando una máscara ajustada alrededor del área objetivo para que el borde esté cerrado con alta precisión. Utiliza desvanecimiento para suavizar las transiciones y ayudar a que la síntesis de texturas se mantenga natural. Confía en las verificaciones de bordes para detectar cualquier fuga y ajústate en consecuencia.
Elige un enfoque de síntesis de texturas que utilice contenido cercano. Los parches basados en ejemplares o la síntesis multiescala proporcionan una cobertura sólida y ayudan a preservar el color y la estructura. Alinea los parches con el gradiente de luminancia y color local para que coincidan con el área circundante.
Gestión del color: ajusta el balance de color para mantener el relleno alineado con la iluminación de la escena. Utiliza fotogramas cercanos como guía de tono para mantener la era o el estado de ánimo consistentes; incluso los cambios diminutos pueden percibirse como artificiales. Implementa un bloqueo de color para mantener la apariencia general estable en todas las ediciones.
Continuidad de la textura: para rellenar huecos grandes, sintetiza en varias pasadas, primero la estructura aproximada, luego refina las texturas. Utiliza un conjunto premium de teselas de textura para mantener la coherencia y evitar mosaicos obvios. Mantén los bordes suaves difuminando con máscaras de degradado.
Gestión de distracciones: evita repetir patrones que llamen la atención. Rota parches, voltea cuando sea factible y mezcla fuentes para reducir la reconocibilidad. Este enfoque minimiza las distracciones y produce el mejor resultado natural.
Control de calidad: ejecuta una pasada de detección rápida para detectar texturas y bandas de color desajustadas. Si se encuentran, ajusta los parches localmente, o vuelve a muestrear de un área más adecuada. Esto permite a los editores lograr un relleno seguro y limpio que no deje rastro de la eliminación original.
Salida y flujo de trabajo: exportar en webp para equilibrar calidad y tamaño, especialmente para estudios en línea y portafolios. Esta función es compatible con muchas herramientas y ayuda a mantener la nitidez al verse en diferentes escalas. Luego, revisar en diferentes dispositivos para confirmar la coherencia; este paso educativo reduce la posibilidad de desacuerdos evidentes.
Mejores prácticas para plazos: mantenga las ediciones no destructivas, preserve el orden original de los fotogramas y deje un rastro claro para ajustes futuros. Si un logotipo o elemento de marca está en el campo, asegúrese de que su integridad no se vea afectada y de que el relleno respete el color y la textura deseados.
Estabilizar y ajustar fotogramas circundantes para mantener la continuidad y el movimiento
Comience con un barrido de estabilización completa, **impulsado por IA**, en toda la secuencia para contrarrestar la deriva y mantener una ruta de movimiento suave en cada escena.
Para los fotogramas adyacentes al tramo alterado, ajuste la alineación seleccionando 4 o 6 puntos de anclaje y aplicando microajustes en los límites para preservar la paralaje y el ritmo del guion gráfico. Esto mantiene el movimiento coherente cuando comienza el siguiente plano y mantiene un tempo estable entre cortes.
Rellene el hueco resultante con una cuidadosa muestra de texturas de imágenes cercanas; utilice un enfoque basado en la **selección** para tomar prestada textura, sombras y grano, luego mezcle con una sutil **transformación** para evitar uniones y asegurar la continuidad sin introducir artefactos.
En un **flujo de trabajo** premium diseñado para cineastas, utilice un pipeline **impulsado por IA** que admita un movimiento más coherente entre escenas, lo que le permitirá **compartir resultados en las plataformas sociales. Este enfoque conserva detalles y mantiene el proceso seguro contra la deriva con el tiempo.
Mantenga una referencia sólida del guion gráfico y una **selección de fotogramas para guiar cualquier ajuste, asegurando que el espaciado y la sincronización de los fotogramas permanezcan intactos mientras usted transforma el contenido cuando sea necesario sin sobrecorregir. El resultado conserva detalles narrativos y mantiene las pistas texturales legibles en cada imagen, ayudando a la audiencia a centrarse en la historia en lugar de en las correcciones técnicas.
Comprobación final: verifique que la continuidad se mantenga al previsualizar la secuencia, asegurando una cadencia de fotogramas fluida de principio a fin. Esta disciplina mantiene la experiencia completa y fluida para los cineastas que comparten todo en línea, manteniendo el flujo de trabajo resiliente entre las imágenes.
¿Por qué elegir el removedor de objetos de video AI de Clipfly: características clave, precios y resultados del mundo real?
Comience con una limpieza conveniente impulsada por IA en la que los estudios y editores confían para entregar clips limpios a los espectadores, sin obstáculos de flujo de trabajo que consumen mucho tiempo y fotogramas desordenados.
Características clave que destacan
- IA de vanguardia que detecta y elimina elementos no deseados en movimiento, preservando el aspecto natural de la escena.
- Elimina marcas de agua y logotipos con precisión mientras preserva detalles finos y continuidad de movimiento.
- Interfaz intuitiva diseñada para editores, que ofrece un flujo de trabajo simplificado que a menudo se prefiere a las alternativas desordenadas.
- Formatos y entradas ampliamente compatibles, incluidas imágenes y varios tipos de clips, lo que garantiza que pueda trabajar con activos existentes.
- Proceso no destructivo que reserva el metraje original, lo que permite iteraciones seguras sin dañar el material fuente.
- Ajustes personalizados que le permiten obtener el aspecto exacto que desea, igualando la estética deseada con un mínimo esfuerzo.
- Generación automatizada de etiquetas y metadatos, lo que simplifica la organización para equipos y estudios con grandes bibliotecas.
- Automatización que ahorra tiempo y le brinda una entrega más rápida manteniendo una alta calidad, a diferencia de la limpieza manual.
- Integración fluida adecuada tanto para creadores individuales como para estudios, proporcionando una salida sin desorden adecuada para la transmisión o la televisión.
- Presets personalizados que se adaptan a diferentes géneros, reduciendo ajustes repetitivos y acelerando la entrega de proyectos frecuentes.
Opciones de precios
- Plan Starter: ideal para personas y pequeños estudios, que ofrece capacidades esenciales con una cómoda opción mensual y asientos escalables según sea necesario.
- Plan Studio: diseñado para equipos en crecimiento, más asientos y mayor rendimiento, con herramientas adicionales para simplificar flujos de trabajo colaborativos.
- Plan Enterprise: para grandes operaciones, con soporte prioritario, acceso a API y flujos de trabajo personalizados para adaptarse a pipelines complejos.
Resultados del mundo real
- Un estudio boutique con un plazo ajustado redujo el tiempo de posproducción entre un 50 y un 65 %, lo que permitió a los editores centrarse en las decisiones creativas y entregar borradores iniciales más rápido a los clientes.
- Un creador independiente redujo el tiempo dedicado a fotogramas desordenados entre un 40 y un 60 %, liberando ancho de banda para filmaciones, guiones y pruebas de audiencia, mejorando frecuentemente las métricas de participación.
- Una agencia de tamaño mediano automatizó limpiezas rutinarias en campañas, logrando una integridad de movimiento constante y reduciendo los ajustes de ida y vuelta, lo que ayuda a cumplir los plazos sin sacrificar la calidad.
En la práctica, la plataforma brinda a los estudios un método confiable para cumplir con las expectativas de la audiencia, conservando la apariencia deseada de cada toma mientras maneja el movimiento sin problemas y sin introducir nuevos artefactos. Es compatible con una amplia gama de proyectos, desde clips personales hasta producciones a gran escala, y sigue siendo adecuado para editores que buscan un flujo de trabajo más rápido y personal, y a menudo reemplaza la limpieza manual que consume mucho tiempo con un proceso automatizado y simplificado que ofrece ganancias de eficiencia medibles.


