
지금 바로 미디어의 빠른 색인을 구축하고 각 장면에 대한 수동 주석을 AI에 제공하는 것부터 시작하세요. 이 접근 방식은 반복적인 작업을 줄이고 여러 프로젝트에 걸쳐 개선을 가속화합니다.
색상 균형, 배럴 왜곡 보정, 자막 생성과 같은 일상적인 작업을 자동화 지원 수정이 가속화하는 일반적인 패턴이 있습니다. 부서 간의 팀은 사전 설정 모음을 공유하여 효율성을 향상시킬 수 있습니다.
결과를 극대화하려면 여러 경로 옵션을 탐색하세요. 프레임을 재생하고, 장면 변형을 비교하고, 톤과 일치하는 편집을 수락하세요. 시스템은 자막 생성을 지원하고 사전 설정을 업데이트하여 빠르게 조정할 수 있습니다.
오늘날 워크플로우의 유연성을 유지하세요. 민감한 자료에 대해 수동으로 결과를 조정할 수 있으며, 핵심 자동화는 나머지를 처리합니다. 이 균형은 효율성을 향상시키고 여러 분야의 팀을 위한 유연성을 유지하여 스토리텔링에 집중하고 노가와 같은 작업에 시간을 낭비하지 않도록 합니다.
이 접근 방식은 장치와 스튜디오 전반에 걸쳐 확장된다는 점을 알고 계세요. 모든 업데이트는 다양한 에셋을 처리하고 일관된 메타데이터 및 자막 정렬을 보장하는 능력을 확장하여 팀이 프로젝트 브리프와 일치하도록 돕습니다. 빠른 피드를 사용하여 피드백을 수집하고 색인을 정확하게 유지하세요.
FCP 11 AI 툴셋: 편집 워크플로우에 새로운 자동화 통합
AI 툴셋에서 도입된 자동화를 활성화하여 일반적인 작업을 자동으로 처리하고, 편집자가 길고 반복적인 편집에서 벗어나 추가 단계 없이 부드러운 결과와 동일한 주제에 걸쳐 일관성을 제공하도록 합니다.
클립 사이에 백그라운드에서 실행되도록 자동화를 배치하여 부드러운 시작점을 만들고 타임라인을 따라 창의적인 결정에 대한 공간을 확장합니다.
로깅 중에 주제와 인터뷰를 식별한 다음 메타데이터를 변환하여 클립을 더 빨리 찾을 수 있도록 하고, 장면이 뉘앙스를 요구하는 경우 수동으로 태그를 조정할 수 있습니다.
자동으로 생성된 플래그를 사용하여 편집을 안내하지만 윤리적 사용을 염두에 두고 검증 및 협업을 지원하기 위해 결정에 대한 명확한 기록을 유지하세요. 그러나 중요한 순간에는 수동 재정의를 사용할 수 있어야 합니다.
무료 체험판으로 시작하여 이러한 자동화가 초안 편집과 최종 패스 간의 워크플로우와 어떻게 일치하는지 평가한 다음 프로젝트에 따라 사용을 연장할지 결정하세요.
자동 장면 감지: 다중 카메라 및 장시간 촬영 영상에 대한 분할 임계값 구성
빠른 각도 변경을 보존하기 위해 다중 카메라 영상에 대해 1.5~2.0초의 임계값으로 시작하세요. 장시간 촬영 시퀀스의 경우 과도한 분할을 방지하기 위해 4~8초로 설정하세요. 이 접근 방식은 명확한 영상과 보기 좋은 페이싱으로 스토리가 흐르도록 하며, 각도 전반의 밝기는 화면에서 균형을 유지합니다.
장면 감지 패널에서 자동 및 편집 가능 모드를 전환한 다음 임계값 값을 선택하세요. 시스템은 실시간으로 분할을 미리 보여주어 주요 페이싱을 고정하고 소셜 사용을 위한 깨끗한 릴을 유지하는 데 도움이 됩니다.
다중 카메라 설정의 경우 낮은 임계값(1.0~2.0초)은 빈번한 카메라 전환을 캡처합니다. 장시간 촬영 자료의 경우 분위기를 보존하기 위해 5~12초로 높이세요. 또한 릴을 검토하는 다른 사람들을 위해 전환을 표시하는 오버레이를 사용하여 워크플로우를 늦추지 않고 맥락을 제공할 수 있습니다.
다운로드한 사전 설정은 프로젝트 전반에 걸쳐 일관된 동작을 제공합니다. 동일한 항목 비교는 결과를 비교하는 데 도움이 되며, 개인화된 시스템은 메인 타임라인에서 즉각적인 피드백을 제공하는 동시에 라이브 스트림에 대해 편집 가능하고 강력한 상태를 유지합니다.
아래 표는 일반적인 시나리오 및 임계값에 대한 빠른 참조를 제공합니다.
| 시나리오 | 추천 임계값 (s) | 참고 |
|---|---|---|
| 빠른 컷 다중 카메라 | 1.0–1.5 | 빈번한 전환 캡처; 밝기 스파이크가 분할을 트리거할 수 있음 |
| 균형 잡힌 다중 카메라 | 1.5–2.5 | 일반적인 페이싱; 깨끗한 전환 |
| 장시간 촬영 풍경 | 4.0–8.0 | 분위기 보존; 과도한 분할 방지 |
| 장시간 촬영 대화 | 6.0–12.0 | 연속성 유지; 일시 정지에 대해 오버레이 고려 |
소셜용 스마트 리프레임: 피사체 고정, 가로세로 비율 설정, 시퀀스 일괄 리프레임
권장 사항: 추적으로 피사체를 고정하고 각 프레임을 대상 가로세로 비율(9:16, 1:1, 16:9)에 고정한 다음 시퀀스에 일괄 리프레임을 적용합니다. 이 잘 구조화된 접근 방식은 피드 전반에 걸쳐 일관된 보기를 제공하고 제작 주기를 가속화합니다.
메인 피사체에 자동 추적을 활성화하고 앵커 포인트(눈 또는 몸통)를 선택하여 액션을 중앙에 유지하세요. 피사체가 벗어나는 경향이 있으면 가끔 수동으로 조정하여 가장자리에서의 압착을 방지하고 화면 헤드라인 및 오버레이에 공간을 확보하세요. 이 심층 설정은 수동 조정 시간을 줄이고 빠른 움직임 중에도 보기를 안정화합니다.
일괄 리프레임 워크플로우를 통해 가로세로 비율당 사전 설정을 만들고 한 번에 수십 개의 클립에 적용할 수 있습니다. 대부분의 경우 클립당 몇 개의 프레임을 검토하고 움직임이나 조명이 크게 바뀌는 경우에만 조정합니다. 일괄 처리 전반에 걸쳐 일관된 앵커를 적용하면 장면 간의 불균형을 방지하고 통일된 스토리텔링 리듬을 보존할 수 있습니다.
소셜 형식의 경우 세로 피드에는 9:16, 정사각형 그리드에는 1:1을 예약하세요. 16:9는 와이드샷과 미리보기에도 유용합니다. 비율을 전환할 때 피사체를 계속 보기 위해 추적을 사용하고, 안전 여백 내에 유지되는 자막 또는 음성 큐를 생성하세요. 이 방법은 헤드라인과 콜아웃이 피사체를 복잡하게 만들지 않고 깔끔하게 안착하도록 돕습니다.
에셋을 위한 중앙 허브를 만들고 다운스트림 워크스테이션 또는 장치에 업데이트를 무선으로 동기화하면 스토리지 및 배포가 원활해집니다. 편집자는 변형을 빠르게 제공하고, 단일 저장을 통해 피드를 새로고침할 수 있습니다. johnson이 만든 워크플로우는 여러 형식을 생성하는 간단한 경로를 제공하여 트렌드에 빠르게 대응하고 플랫폼 전반에 걸쳐 놀라운 수준의 참여를 유지할 수 있도록 합니다.
참고: 클립 간의 움직임 불균형을 주의하세요. 급격한 패닝은 리프레임 후 벗어날 수 있으므로 빠른 검증 패스를 실행하세요. 이 업그레이드는 적절한 타이밍의 효과와 헤드라인과 결합될 때 참여도를 크게 높입니다. 이 접근 방식을 설치하고 업데이트를 스토리지로 무선으로 푸시하여 다음 배치를 피드 준비 상태로 유지하고 쉽게 확장할 수 있습니다.
AI 노이즈 및 험 제거: 사전 설정 선택, 주파수 대역 조정, 결과 청취
험 및 배경 소음에 대한 자동 사전 설정으로 시작한 다음 현재 장면과 비교하여 결과를 청취하여 깨끗한 프레임 데이터와 이전보다 더 깨끗한 필름과 같은 분위기를 확인하세요.
노이즈 프로필에 맞는 사전 설정을 선택하세요. 전기 잡음에 대한 험 제거, 배경 공기에 대한 히스 제거, 바람이 부는 장면에 대한 일반 정리. 기본 소스를 식별하고, 특히 장면이 음성 및 자막 큐의 명확성에 의존하는 경우 제작자의 의도에 맞게 신호를 유지하세요.
8개의 주파수 대역을 조정합니다. 20–80 Hz(웅웅거림), 80–160 Hz(쿵쾅거림), 160–400 Hz(먹먹함), 400 Hz–1 kHz(음성 선명도), 1–3 kHz(존재감), 3–6 kHz, 6–12 kHz, 12–20 kHz. 노이즈가 지배적인 대역에 외과적으로 컷을 적용하고 프레임 보존 정보를 전달하는 대역에 부드러운 부스트를 사용합니다. 목표는 프레임의 자연스러운 음색과 분위기를 보존하면서 노이즈를 분리하는 것입니다.
프레임별로 결과 청취: 일반 및 슬로우 모션으로 재생하여 전환 및 움직임 큐 주변의 아티팩트를 포착합니다. 원본 데이터와 비교하여 창의성을 해치지 않고 배경이 조절되었는지 확인합니다. 자막 트랙이 있는 경우 정리 후 정렬이 정확한지 확인한 다음 결과를 고정합니다.
워크플로우: 적당한 감소로 시작하고 8단계에 걸쳐 다듬어 펌핑을 유발하는 빠른 변경을 피하세요. 청중이 처리된 마무리보다는 자연스러운 분위기를 인식하도록 투명한 톤을 유지하세요.
데이터 기반 확인: 전후 스펙트럼 데이터를 기록하고, 8개 대역 전반의 잔여 노이즈를 식별하고, 결과가 프리미엄 등급 표준을 완전히 충족하는지 확인합니다. 현재 설정은 다음 클립에 걸쳐 반복 가능해야 하며, 제작물에 대해 일관된 기준선을 보장해야 합니다.
전문적인 접근 방식: 명확한 대화를 전달하면서 분위기에 대한 정신을 유지하려는 크리에이터를 위해 제작되었습니다. 과정은 느리지만 정확합니다. 조정을 거쳐 미세 조정하고 다시 오디션을 통해 결과가 장면의 분위기와 서사 정보에 충실한지 확인하세요.
시작점 및 마음가짐: 내장된 기본값으로 시작하고 필요에 따라 강도를 점진적으로 높입니다. 오늘날 신중한 8단계 튜닝을 통해 영화적 느낌을 손상시키지 않고 배경 소음을 분리하여 데이터를 정직하게 유지하고 최종 결과물을 시사회에 바로 사용할 수 있습니다.
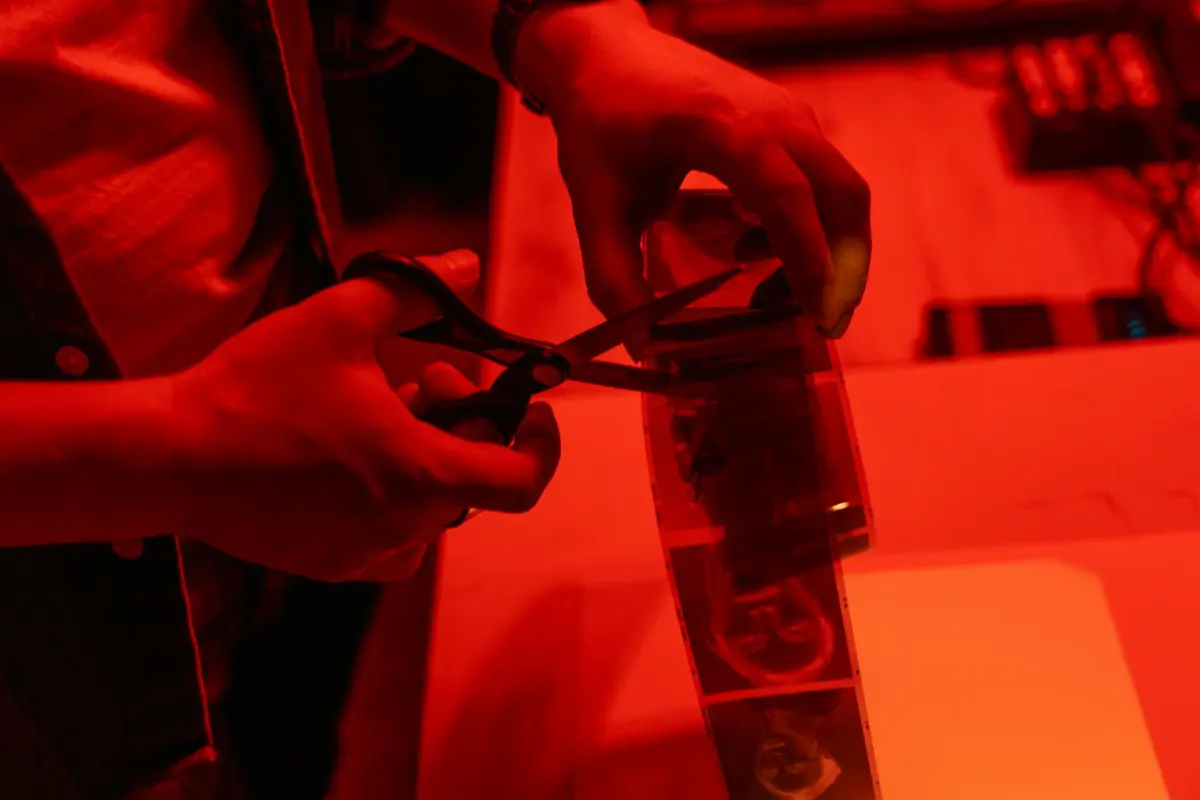
배경 교체 및 매트 정리: 피사체를 분리하고 머리카락 및 가장자리 세부 정보를 다듬습니다.
프레임 내 피사체를 닫힌 마스크로 분리한 다음 깨끗한 플레이트로 배경을 교체하는 신경망 기능을 사용합니다. 이 접근 방식은 종종 정확한 머리카락 가장자리와 혼합된 경계를 제공하며 편집 세션 중에 라이브 미리보기에서도 잘 작동합니다. 가능한 최상의 결과를 얻으려면 신경망 변환이 프린지 색상과 가장자리 후광을 처리하는 방식을 탐색하세요. 항상 촬영에서 색상 참조를 위한 소스를 확인하세요.
- 샷 준비: 정확한 머리카락 및 미세한 세부 정보 분리를 지원하기 위해 고해상도 소스 자료, 고른 조명 및 강한 대비를 제공하는 배경을 확보하세요.
- 초기 매트 생성: 피사체 요소를 감지하는 신경망 기능을 선택하고 마스크를 닫힘으로 설정하며 배경 요소를 포함하지 않고 피사체가 완전히 분리되도록 임계값을 조정합니다.
- 가장자리 및 머리카락 다듬기: 가장자리 다듬기를 활성화하고 작은 페더(0.5–2px)를 적용하며 오염 제거를 실행하여 색상 번짐을 줄입니다. 미세한 가닥에 확대하여 정확도를 높이고 새 배경과 혼합된 전환을 만듭니다.
- 배경 교체: 일치하는 원근감과 조명을 가진 배경 플레이트를 선택합니다. 앵커를 정렬하고 변환을 사용하여 축척 또는 시차를 수정합니다. 결과물이 움직임 전반에 걸쳐 좋게 유지되고 자연스러운 깊이를 유지하는지 확인합니다.
- 품질 검사 및 내보내기: 여러 플랫폼 및 타사 편집기에서 테스트하여 일관성을 보장합니다. 중요한 시퀀스의 경우 더 긴 버전을 생성하고 빠른 미리보기의 경우 더 가벼운 버전을 생성합니다. 향후 반복을 위해 사용된 설정을 문서화합니다.
실리콘 댐핑 리그를 사용하는 스튜디오의 경우 라이브 재생 중에 마스크를 안정적으로 유지하세요. 강력한 매트는 더 오래 유지되어 재작업을 줄입니다. 이 접근 방식은 빠른 처리 시간과 정확한 합성 이미지를 찾는 브랜드에도 유용합니다. 실제로 소스의 정보 흐름을 탐색하고 변환 및 향상 기능을 샷 전체에 걸쳐 추적하기 위해 버전 기록을 유지합니다.
AI 색상 일치 및 샷 그룹화: 피부톤 일치, 노출 균형 조정 및 연결된 등급 적용
권장 사항: 시퀀스 전체에서 AI 색상 일치를 활성화하고 피사체 및 조명별로 샷 그룹을 만든 다음 각 그룹에 연결된 등급을 적용합니다. 이렇게 하면 프레임 전환에 걸쳐 피부톤이 일관되게 유지되고, 아이폰 캡처 및 기타 카메라 본체에서 촬영한 클립을 포함하여 8대의 카메라 클립이 동기화되며, 프레임 내 객체는 움직임이 전개됨에 따라 시각적으로 연결된 상태를 유지합니다.
프로세스 세부 정보: AI 생성 조정은 참조 피부톤 대상과 사전 설정 세트에 의존합니다. 피부톤 및 노출 감지를 조정했으며, 휘도, 노출 및 균형을 확인한 다음 각 그룹에 통합된 등급을 적용하며 처리 능력은 제어된 상태를 유지합니다. 필요한 경우 자동 설정을 비활성화하고 프레임별로 조정할 수 있습니다. 등급 지정은 자동으로 작동하고 독창성을 보존합니다. 학습 친화적인 설정을 통해 팀은 신속하게 적응할 수 있습니다.
그룹화 논리: 카메라의 추적 데이터는 움직임과 피사체가 일관된 프레임을 클러스터링하는 데 도움이 됩니다. 혼자 작업하는 경우 두 장치에 걸쳐 Johnson 시스템은 연속성을 유지하기 위해 프레임을 연결합니다. VisionOS 및 iPhone 콘텐츠는 동일한 색상 맵으로 들어가며, 자기 타임라인은 연결된 등급을 제자리에 유지하는 데 도움이 됩니다.
실용적인 팁: 샘플 프레임에서 피부톤을 확인하고 사과가 과도하게 채워지거나 색이 바랜 것으로 보이면 임계값을 조정합니다. 눈에 띄는 점프를 피하기 위해 미묘한 변화는 작은 범위 내로 유지합니다. 8비트 또는 10비트 깊이를 적절하게 사용하고 일관성을 유지하기 위해 그룹 전체의 등급을 정렬합니다.
성능 및 가용성: VisionOS 기기 및 Mac에서 사용할 수 있습니다. 사전 설정을 로드하고 확인을 자동으로 실행한 다음 Premiere로 이동하여 프로젝트 간 정렬을 수행합니다. 해당 AI 생성 기능은 실시간으로 결과를 모니터링하는 동안 터치 시간을 줄이고 독창성을 높입니다.


