

推奨:オールインワンのAIショットプランナーを採用して、チームを連携させ、明確で画面上のシーケンスを瞬時に生成しましょう。部署全体で使用すると、スクリプトのビートをビジュアルブロックにマッピングし、キャストとロケーションを含め、標準化されていないワークフローを回避することで、プロジェクトへの愛着が高まります。このアプローチにより、チーム全体で標準的な結果を得ることが容易になり、完全なワークフロー、一貫性のあるスタイル、そして頼りになるより良いベースラインを提供します。
効果を最大化するために、まずスタイルを選択し、簡潔なトレーニングコースを実施して、チームが一貫して適用できるようにします。単一の繰り返し可能なテンプレートは、すべてのショットを整列させ、ツールは現在の制約に適合する代替案を提案します。これにより、クリエイティブな野心と制作の現実との間のバランスが向上し、毎年のアップデートがループに組み込まれます。
ツールを使用して、代替レイアウトやショット順を生成し、画面上のレイアウトとスクリプトを比較してギャップや重複を見つけます。システムは、チームが連携を維持するのを助け、各シーンの単一の真実の情報源と、カメラの配置場所、誰が、何を、どこに配置するかを明確にマッピングし、キャストを管理します。このアプローチは、テイク全体の一貫性をサポートし、プリプロダクションをより効果的にします。
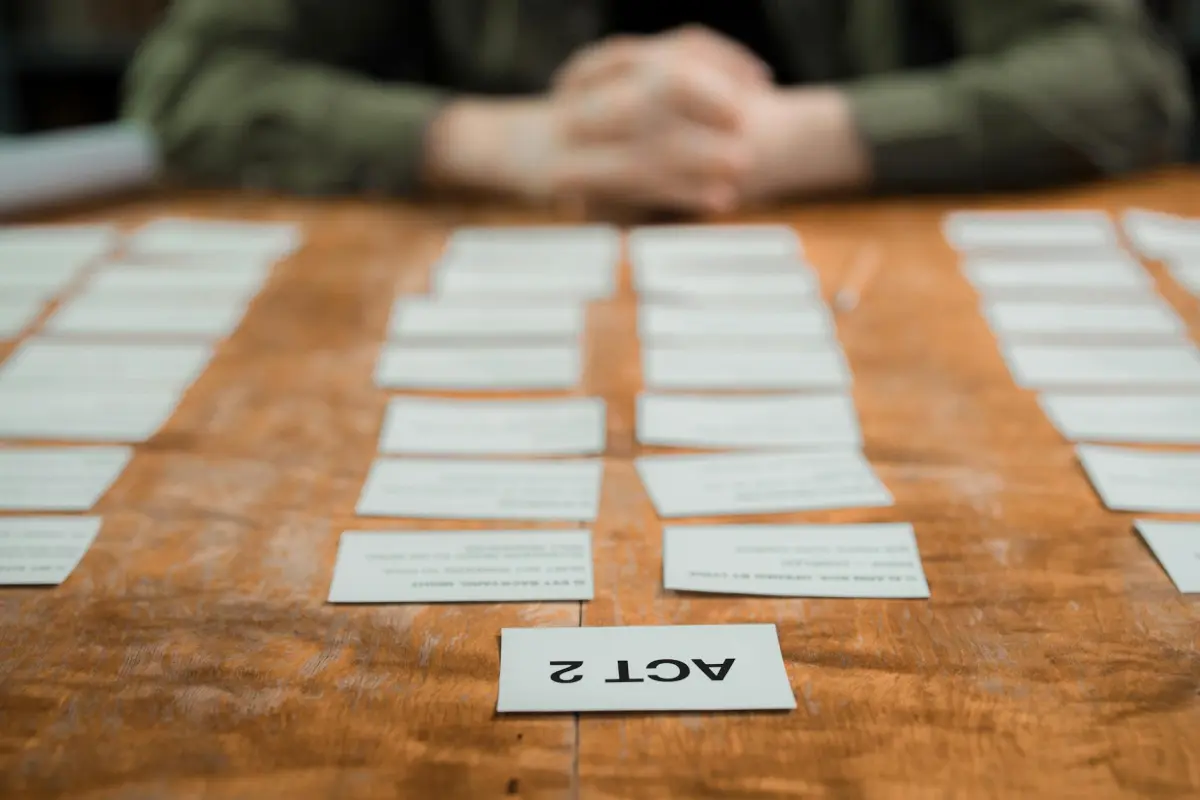
アウトラインからビートへの変換:アウトラインをストーリーボードビートに変換
率直な推奨から始めましょう:アウトラインをシーンごとに4〜6ビートに分割し、各ビートにタイプ(セットアップ、エスカレーション、ペイオフ)を割り当て、ビジュアルノートを添付します。このスピードはワークフローを加速し、アニメーションに入る前にシーン間の一貫性が必要であることが明らかになります。Storyboarderaiを使用すると、アウトラインから直接初期ビートコレクションを作成でき、やり取りを減らし、プロデューサーがプロセスのできるだけ早い段階で明確さを気に入るようにすることができます。
一般的なビートタイプとテンプレート

ビートをタイプ別に分割します:きっかけの瞬間、エスカレーション、ペイオフ。各ジャンルについて、約3つのテンプレート(アクション主導、キャラクター主導、ムード主導のシフト)に依存します。各ビートには具体的なビジュアルキューと推奨されるスライド数が提供されるため、ショットの方向性はチームの全員にとって明確です。テンプレートは作業をモジュール式に保ち、プラットフォームやサービス全体での迅速なイテレーションを可能にし、勢いを失うことなくコアコンセプトを中心にイテレーションできます。
プラットフォーム全体での実用的なワークフロー
直感的なインターフェースで、最近のアウトラインをプログラムにインポートし、各行を個別のビートにマッピングし、ビートをシーケンスの周りに配置します。一貫性を保つためにビートを4〜6のチャンクに分割し、各ビートに直接参照とアニメーションリンクを添付します。ビートマップは即座にストーリーボードに変換して迅速なアニメーションレビューを行うことができ、共有リンクにアクセスしてレビューおよびコメントできるため、どこからでも誰からのフィードバックも可能になります。このアプローチは、古いテキストファーストのドラフトよりも優れており、チームにリズミカルな感覚を素早く与えました。
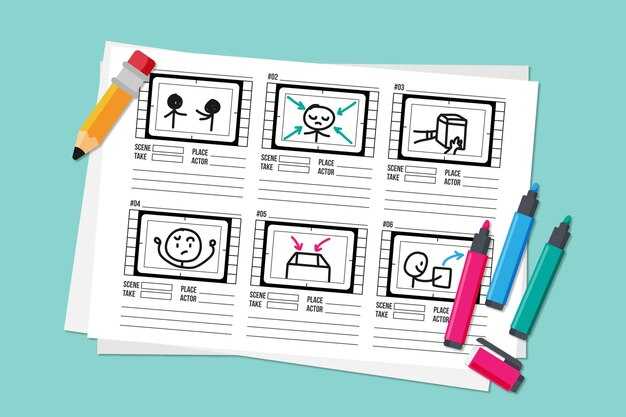
パネルの目標:フレームごとにアクション、感情、トランジションを定義
パネルごとの目標を定義します:アクション、感情、トランジションを、単一のビートに収まる簡潔な行で定義します。
スタイルとチーム全体の一貫性を確保するために、すべてのフレームに3部構成のテンプレートを使用します。これは、ワークフローを加速し、ボイスとナレーションを維持する、シンプルでスケーラブルなアプローチです。
- フレームシーケンス
- アクション – 1〜2の明確な動きまたは決定。強力な動詞を使用します。スクリプトのビートに合わせます。フィラーを避けます。
- 感情 – キャラクター主導のトーンを割り当てます。顔のマイクロエクスプレッションをアクションに接続します。
- トランジション – 次のフレームに到達する方法を示します(カット、クロスフェード、モーション)。トランジションはスムーズに、速度目標と一致させます。
- フレーム番号とペース
- ビートあたりのフレーム数:標準的なシーンでは3〜5。高張力ビートでは6〜7に拡張します。
- ビートとリズム:フレームあたり少なくとも2つのアクションビートがあることを確認します。合計フレーム数はナレーションとボイスキューに合わせます。
クイック使用のためのテンプレートスニペット:
- フレーム1
- アクション:「キャラクターがドアに気づく」または「キャラクターが一歩踏み出す」
- 感情:「好奇心」または「警戒」(キャラクター主導)
- トランジション:「フレーム2にカット。速度をわずかに上げる」
- フレーム2
- アクション:「キャラクターがノブに手を伸ばす」
- 感情:「決意」
- トランジション:「フレーム3にマッチカット」
- フレーム3
- アクション:「ドアが開く。手がかり」
- 感情:「驚き」
- トランジション:「ビート終了。次のシーケンスの準備」
実用的な注意点:スクリプトとナレーションからの情報を使用して、ボイスとトーンを固定します。アートディレクションは選択されたスタイルを反映する必要がありますが、適応性がある必要があります。これは、自由と制御が出会う場所です。安定したベンチマークは、チームが速度と品質を測定するのに役立ちます。簡潔なノートは、やり取りを減らします。パネルに明確さがない場合は、続行する前にアクションと感情を洗練してください。さもないと、フレーム間の一貫性が失われるリスクがあります。曖昧なガイダンスではなく、ジェネレーターがすぐに動きとレイアウトに変換できる、正確で簡潔なキューを目指してください。
実装コンテキスト:専門サービスに連携したパネルフローに組み込まれています。私たちのチームは、ジェネレーターフレンドリーなテンプレートを使用して、迅速なイテレーションを推進しています。このアプローチは月額課金されており、チームがスタイル全体で一貫したフレームを生成するのに役立ちます。ターンアラウンドとスクリプトからフレームへの精度が劇的に向上したのを見てきました。これが、ナレーションやボイスの指示とどのように連携するか、またチームのニーズに合わせてどのように調整するかについてフィードバックを求めています。これらのノートの情報は、新しいスクリプトや、作業をスケールしたいチームのベンチマークとしても機能します。
ショットタイプとフレーミングガイド:ビートごとにカメラアングルを自動提案
ビート1では、場所とムードを設定するワイドなオープニングショットで開始し、次にミディアムショットに切り替えてキャラクターと意図を明らかにします。
ビート2では、オーバー・ザ・ショルダーまたはプロファイルのアングルを使用してリアクションを追跡し、俳優と小道具の正しい配置を維持しながら、会話の明確な視線を確保します。ナレーションのスタイルはレンズの選択と動きに影響を与え、ディテールは緊張の転換が目に見えるようになるまで、シーンのアークと一致させる必要があります。
ビート3では、会話のツーショットをアイレベルで優先し、カメラは相互作用の要素(アイコンタクト、姿勢、マイクロエクスプレッション)に焦点を当て、キャストが関係性のダイナミクスをスムーズに伝えるようにします。このビートの短いリストの角度を作成して、リズムをタイトに保ち、映画全体の言語と一致させます。
ビート4は、手のクローズアップ、小道具、またはトリガーとなるジェスチャーのインサートに焦点を当てます。マクロのようなフレーミングを使用して、サブテキストを駆動するディテールをキャプチャし、小道具の質感やキャラクターのグリップにフレームを集中させて意味を高めます。
ビート5では、ローアングルまたはハイアングルでムードをシフトさせ、パワー、疑念、または啓示を示唆します。単一の決断的なチルトとリアクションショットを組み合わせることで、テンポがリセットされ、視聴者は継続性を壊すことなくキャラクターから意図を読み取ることができます。
制作ワークフロー:スタジオでは、各ビートの要素(キャスト、シーン、小道具、ロケーション)の完全なリストを維持して、クルーが cohérent な計画を学習し、制作できるようにします。このアプローチは、計画が漂流から解放され、カリフォルニアスタジオのホセによる迅速な学習サイクルに対応できるようにします。
自動提案フレームワークは、スタイルや進化する撮影、映画、テストからの知識に適応し、素晴らしい、完全に調整され、キャストが自信を持って実行できるカメラシーケンスを生成する必要があります。視覚的に魅力的でありながら、円滑な物語の流れを維持するために、動機、シーン、そして正しいフレーミングに焦点を当てることを強調します。


