

Inizia con un fotogramma sorgente pulito, dove l'area è completamente priva dell'elemento. Per i principianti, questo passaggio necessario crea una base sicura: non procedere mai con un fotogramma che mostra residui, altrimenti vedrai delle giunture. Mantieni la regione intatta finché non sei pronto per finalizzare i ritocchi.
Ingrandisci l'area di destinazione per mappare con precisione i bordi, usando un'interfaccia reattiva. Scegli una *funzione* forte come il clone o la guarigione per ricreare le texture, quindi confronta con i pixel adiacenti per garantire la fedeltà. In Photoshop, applica gli strumenti in modo deliberato e inizia con piccoli ritocchi controllati per mantenere le transizioni naturali. Questi *passaggi* sono ideali per i *creatori* che hanno iniziato con progetti semplici e ora mirano a risultati più puliti.
Dopo il primo passaggio, ispeziona fotogramma per fotogramma per evitare di lasciare artefatti. L'obiettivo è *eliminare* le discrepanze senza crearne di nuove; regola la sfumatura per farla corrispondere all'illuminazione e alle ombre. Quando qualcosa appare sfocato, usa un pennello più stretto e aumenta la sfumatura dove necessario. Se qualcosa sembra fuori posto, *non* fare mai affidamento su un singolo passaggio. Usa l'interfaccia per visualizzare in anteprima i risultati e assicurati che le modifiche non attirino mai l'attenzione.
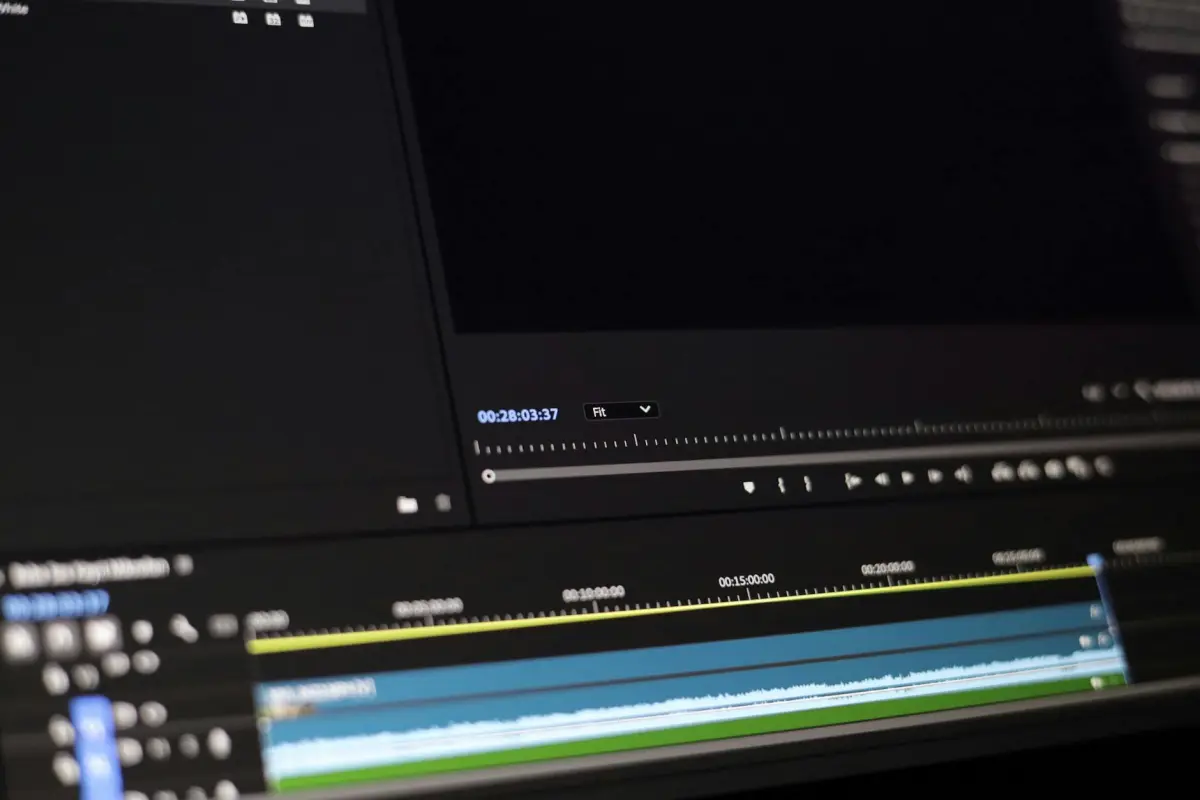
Infine, esporta la sequenza con un metodo sicuro e completamente documentato. Per flussi di lavoro all'avanguardia, salva preset che automatizzano il ritaglio, la maschera e il riempimento; questo aiuta i *creatori* a recuperare rapidamente se devi ricontrollare. Se hai iniziato raccogliendo più fotogrammi sorgente, applica subito quello migliore e verifica la coerenza lungo la timeline. L'interfaccia dovrebbe supportare il passaggio rapido tra la versione originale e quella elaborata per confermare di aver ottenuto l'eliminazione senza compromettere la qualità.
Flusso di lavoro pratico per rimuovere un oggetto utilizzando un'immagine di riferimento
Inizia caricando un fotogramma guida che mostra l'area dietro l'elemento. Questa sorgente aiuta l'algoritmo a far corrispondere la texture e l'illuminazione in tutta la sequenza, consentendo una sfumatura fluida e preservando la coerenza della scena.
Schizza uno storyboard che tracci la posizione prevista dell'area in tre fotogrammi pianificati, chiarendo dove deve avvenire il riempimento e quale texture clonare.
Genera una maschera approssimativa per separare l'area indesiderata, quindi affina i bordi per preservare i dettagli. Utilizza una transizione sfumata per evitare bordi netti.
Abbina colore e illuminazione campionando i pixel vicini e applicando regolazioni locali; il flusso di lavoro veloce utilizza un riempimento basato su patch e inpainting dove esistono motivi a tasselli per riprodurre accuratamente la texture.
Itera ispezionando tre fotogrammi di esempio e annotando eventuali discrepanze; regola tonalità, saturazione e luminosità finché il risultato non rimane omogeneo.
Le opzioni di esportazione includono webp, che offre un ingombro ridotto preservando i dettagli; conserva una versione di alta qualità per l'approvazione e controlli rapidi.
Le insidie comuni includono la presenza di giunture visibili, un'eccessiva sfumatura o l'introduzione di distrazioni; ricontrolla frequentemente l'output a diverse scale per garantire la coerenza.
Suggerimenti finali: usa questi passaggi per mantenere il ripresa coeso, evitando perdite di filigrana e preservando tre dettagli chiave che corrispondono all'illuminazione, alla texture e alla prospettiva.
Seleziona o acquisisci un fotogramma di riferimento pulito che contenga l'area da modificare
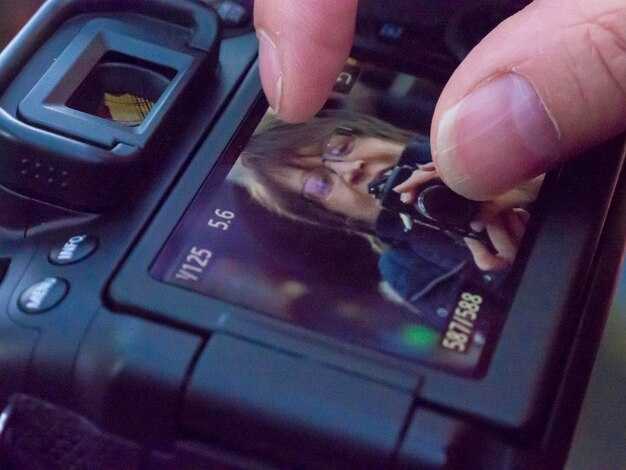
Scegli un fotogramma di destinazione in cui l'area da modificare si trovi su uno sfondo pulito, senza movimento o occlusioni. Utilizza un treppiede, blocca l'esposizione manuale e il bilanciamento del bianco, e scatta alla massima risoluzione pratica possibile (RAW preferito, o JPG a 12 bit). Questo approccio riduce i successivi ritocchi in post-produzione e aiuta a ottenere subito risultati sorprendenti.
Mantieni l'angolazione della telecamera e la distanza coerenti con le scene circostanti per preservare la prospettiva. Se devi scattare nuove immagini, una inquadratura identica rende la rigenerazione dei dettagli molto più semplice e minimizza le incoerenze fotogramma per fotogramma che potrebbero frustrare sia i creatori che gli spettatori.
Ispeziona l'area alla ricerca di loghi o elementi di filigrana. Se fanno parte della zona che intendi modificare, scegli un fotogramma in cui questi segni siano piatti e uniformi, in modo che possano essere isolati o rimossi in modo pulito. Se un logo è distraente e non essenziale, scegli un'immagine con uno sfondo più semplice per semplificare il compito.
Preferisci scene che mostrino chiaramente l'area di modifica e senza distrazioni. Gli sfondi puliti riducono la possibilità di disallineamento nei passaggi successivi e accelerano anche il flusso di lavoro quando condividi contenuti con collaboratori o poni domande per un feedback.
Quando non puoi ricatturare, seleziona fotogrammi che siano il più rappresentativi possibile dell'illuminazione e del colore in tutta la sequenza. Normalizza la luminosità media e la temperatura del colore nel tuo passaggio iniziale per limitare le variazioni di colore, riducendo così il rischio di giunture evidenti dopo i ritocchi.
Elementi di controllo: assicurati che il fotogramma abbia una risoluzione sufficiente, una sfocatura di movimento minima, un'illuminazione uniforme e una messa a fuoco stabile. Se lavori ripetutamente sullo stesso progetto, scatta diverse foto per scena e scegli quella con gli sfondi più coerenti; questo approccio rende più veloce la distribuzione dei risultati ad altri team e mantiene il contenuto coeso tra le scene.
Allinea il fotogramma con l'illuminazione, il colore e l'angolazione della telecamera della scena
Allineare il fotogramma con l'illuminazione, il colore e l'angolazione della telecamera della scena conferisce agli spettatori un aspetto pulito e coeso in tutta la sequenza. Questa configurazione ti offre precisione e ti consente di apportare modifiche senza lasciare incoerenze nella ripresa, preservando l'intento creativo.
Rileva la dominante di colore prevalente tramite i canali di colore medi in aree neutre; regola il fotogramma in modo che corrisponda ai filmati premium utilizzati negli studi, garantendo un umore coerente tra le modifiche.
Imposta la direzione della luce per allinearla alla luce principale e di riempimento, quindi verifica fotogramma per fotogramma che le luci e le ombre rimangano entro un intervallo sicuro; non lasciare mai che l'inclip succeda.
Posiziona la telecamera in modo che le linee dell'orizzonte e la geometria del soggetto siano allineate; se sei in una configurazione amatoriale, piccole modifiche angolari accelerano il processo e mantengono il risultato di alta qualità.
I passaggi per l'allineamento includono: valutare le luci, bilanciare il colore, regolare l'angolazione, validare con una carta grigia neutra e ricontrollare fotogramma per fotogramma.
I fotogrammi modificati rimangono puliti in un flusso di lavoro di gestione di studi premium; ciò mantiene il progetto coerente e lascia un risultato professionale per gli spettatori.
Per ripristinare un aspetto uniforme in una clip, la sfocatura può essere utilizzata con cura sugli elementi di sfondo, questo aiuta a lasciare il soggetto principale a fuoco mantenendo velocità e precisione.
| Parametro | Azione | Note |
|---|---|---|
| Direzione della luce | Abbina la luce principale alla scena, regola entro ±5° | I controlli fotogramma per fotogramma supportano la precisione |
| Temperatura del colore | Media il colore nelle aree neutre, imposta il bilanciamento del bianco a 5500–6500K | Mantieni la coerenza tra le riprese |
| Angolazione della telecamera | Allinea le linee dell'orizzonte e del soggetto, inclina/pan in un piccolo intervallo | Usa una griglia come guida; assicurati un allineamento preciso |
| Esposizione | Stabilizza la luminosità, evita l'inclip nelle alte luci | Rivedi con l'istogramma |
Maschera l'oggetto ed esegui la sintesi della texture per riempire lo spazio
Inizia disegnando una maschera aderente attorno all'area di destinazione in modo che il bordo sia chiuso con alta precisione. Usa la sfumatura per ammorbidire le transizioni e aiutare la sintesi della texture a rimanere naturale. Affidati ai controlli dei bordi per individuare eventuali perdite e regola di conseguenza.
Scegli un approccio di sintesi della texture che utilizzi contenuti vicini. Le patch basate su esempi o la sintesi multi-scala offrono una buona copertura e aiutano a preservare colore e struttura. Allinea le patch con il gradiente di luminanza e colore locale per abbinare l'area circostante.
Gestione del colore: regola il bilanciamento del colore per mantenere il riempimento allineato all'illuminazione della scena. Usa i fotogrammi vicini come guida tonale per mantenere coerente l'epoca o l'atmosfera; anche minuscoli spostamenti possono essere percepiti come artificiali. Implementa un blocco del colore per mantenere stabile l'aspetto generale tra le modifiche.
Continuità della texture: per riempire grandi spazi, effettua la sintesi in più passaggi, prima la struttura grezza, poi affina le texture. Utilizza un set premium di tessere di texture per mantenere la coerenza ed evitare tassellature evidenti. Mantieni i bordi lisci sfumando con maschere a gradiente.
Gestione delle distrazioni: evita di ripetere motivi che attirano l'attenzione. Ruota le patch, capovolgi dove plausibile e mescola le sorgenti per ridurre la riconoscibilità. Questo approccio minimizza le distrazioni e produce il miglior risultato naturale.
Controllo qualità: esegui un veloce passaggio di rilevamento per individuare texture e fasce di colore non corrispondenti. Se trovati, regola le patch localmente o ricampiona da un'area più adatta. Ciò consente agli editor di ottenere un riempimento sicuro e pulito che non lascia traccia della rimozione originale.
Output e flusso di lavoro: esporta in webp per bilanciare qualità e dimensioni, soprattutto per studi e portfolio online. Questa funzionalità è supportata da molti strumenti e aiuta a mantenere la nitidezza quando visualizzato su scale diverse. Quindi, rivedi su dispositivi diversi per confermare la coerenza; questo passaggio formativo riduce la possibilità di evidenti incongruenze.
Buone pratiche per le scadenze: mantieni le modifiche non distruttive, preserva l'ordine originale dei fotogrammi e lascia una traccia chiara per aggiustamenti futuri. Se un logo o un elemento di branding è sul campo, assicurati che la sua integrità rimanga inalterata e che il riempimento rispetti il colore e la texture desiderati.
Stabilizza e aggiusta i fotogrammi circostanti per mantenere continuità e movimento
Inizia con una scansione di stabilizzazione completa, potenziata dall'IA, attraverso la sequenza per contrastare la deriva e mantenere un percorso di movimento fluido in ogni scena.
Per i fotogrammi adiacenti all'intervallo modificato, stringi l'allineamento selezionando 4-6 punti di ancoraggio e applicando micro-regolazioni ai bordi per preservare la parallasse e il ritmo dello storyboard. Questo mantiene il movimento coerente all'inizio dell'inquadratura successiva e mantiene un ritmo stabile tra i tagli.
Riempi lo spazio risultante con un attento campionamento delle texture da immagini vicine; usa un approccio basato sulla selezione per prelevare texture, ombre e grana, quindi sfuma con una sottile trasformazione per evitare cuciture e garantire la continuità senza introdurre artefatti.
In un flusso di lavoro premium progettato per i cineasti, utilizza una pipeline potenziata dall'IA che supporta un movimento più coerente tra le scene, permettendoti di condividere i risultati tra le piattaforme social. Questo approccio preserva i dettagli e mantiene il processo sicuro dalla deriva nel tempo.
Mantieni un forte riferimento allo storyboard e una selezione di fotogrammi per guidare qualsiasi aggiustamento, assicurando che la spaziatura e la temporizzazione dei fotogrammi rimangano intatte mentre trasformi il contenuto dove necessario senza sovracorreggere. Il risultato preserva i dettagli narrativi e mantiene le indicazioni testurali leggibili attraverso ogni immagine, aiutando il pubblico a concentrarsi sulla storia piuttosto che sulle correzioni tecniche.
Controllo finale: verifica che la continuità regga quando la sequenza viene visualizzata in anteprima, assicurando un ritmo fluido dei fotogrammi dall'inizio alla fine. Questa disciplina sostiene l'esperienza completa e fluida per i cineasti che condividono tutto online, mantenendo il flusso di lavoro resiliente tra le immagini.
Perché scegliere il Rimuovi Oggetti Video AI di Clipfly: caratteristiche chiave, prezzi e risultati reali
Inizia con una pulizia conveniente e potenziata dall'IA su cui studi ed editor fanno affidamento per fornire clip pulite agli spettatori, senza ostacoli di flusso di lavoro che richiedono tempo e fotogrammi disordinati.
Caratteristiche chiave che spiccano
- IA all'avanguardia che rileva ed elimina elementi indesiderati nel movimento, preservando l'aspetto naturale della scena.
- Elimina watermark e loghi con precisione preservando i dettagli fini e la continuità del movimento.
- Interfaccia intuitiva progettata per gli editor, che offre un flusso di lavoro semplificato, spesso preferito rispetto ad alternative disordinate.
- Formati e input ampiamente supportati, tra cui immagini e clip di vario tipo, per garantire che tu possa lavorare con gli asset esistenti.
- Processo non distruttivo che preserva il girato originale, consentendo iterazioni sicure senza danneggiare il materiale sorgente.
- Regolazioni personalizzate che ti consentono di ottenere l'aspetto esatto desiderato, corrispondendo all'estetica di destinazione con il minimo sforzo.
- Generazione automatizzata di tag e metadati, che semplifica l'organizzazione per team e studi con ampie librerie.
- Automazione che consente di risparmiare tempo, garantendo un turnaround più veloce pur mantenendo alta qualità, a differenza della pulizia manuale.
- Integrazione fluida adatta sia a creatori singoli che a studi, fornendo un output pulito adatto a broadcast o streaming.
- Preset personalizzati che si adattano a generi diversi, riducendo le modifiche ripetitive e accelerando la consegna per progetti frequenti.
Opzioni di prezzo
- Piano Starter: ideale per singoli e piccoli studi, offre funzionalità essenziali con un'opzione mensile conveniente e posti scalabili secondo necessità.
- Piano Studio: progettato per team in crescita, più posti e maggiore produttività, con strumenti aggiuntivi per semplificare i flussi di lavoro collaborativi.
- Piano Enterprise: per grandi operazioni, con supporto prioritario, accesso API e flussi di lavoro personalizzati per adattarsi a pipeline complesse.
Risultati reali
- Uno studio boutique con una scadenza ravvicinata ha ridotto i tempi di post-produzione del 50-65%, consentendo agli editor di concentrarsi sulle decisioni creative e di fornire bozze iniziali più velocemente ai clienti.
- Un creator indipendente ha ridotto il tempo impiegato su fotogrammi disordinati del 40-60%, liberando risorse per riprese, sceneggiatura e test con il pubblico, migliorando frequentemente le metriche di coinvolgimento.
- Un'agenzia di medie dimensioni ha automatizzato le pulizie di routine su più campagne, ottenendo un'integrità del movimento coerente e riducendo le modifiche successive, il che aiuta a rispettare le scadenze senza sacrificare la qualità.
In pratica, la piattaforma offre agli studi un metodo affidabile per soddisfare le aspettative del pubblico, preservando l'aspetto previsto di ogni inquadratura mentre gestisce il movimento in modo fluido e senza introdurre nuovi artefatti. È compatibile con un'ampia gamma di progetti, da clip personali a produzioni su larga scala, ed è adatta agli editor che cercano un flusso di lavoro più veloce e personale, sostituendo spesso la pulizia manuale che richiede tempo con un processo semplificato e automatizzato che offre guadagni di efficienza misurabili.


