
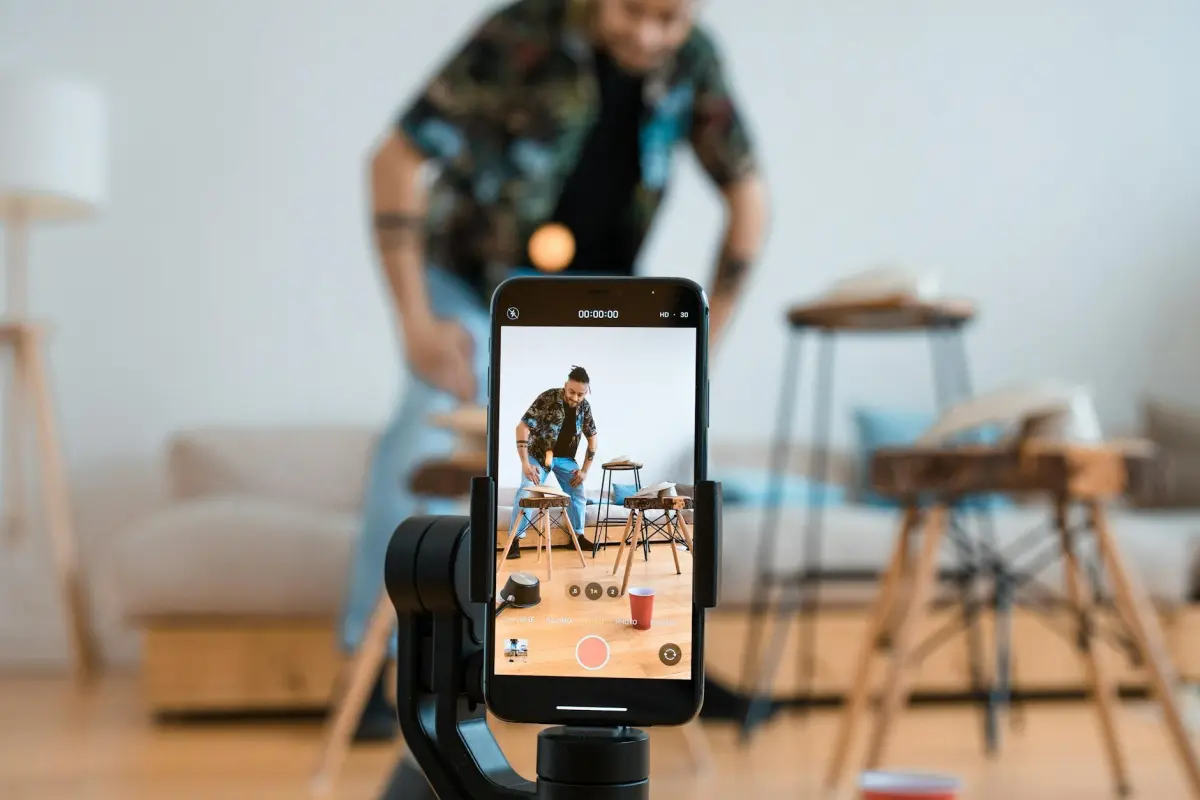

Raccomandazione: Scegli un singolo editor basato sull'IA e un modello semplice, quindi crea una breve sceneggiatura e assembla le risorse per completare una clip di qualità professionale in 20 minuti.
Il motore si basa su algoritmi per tradurre una breve sceneggiatura in più scene, attingendo a risorse di immagini, colori e formati. Potresti spesso provare un breve voiceover e cambiare cadenza per influenzare l'esito. Puoi scaricare le esportazioni per semplificare la pubblicazione su TikTok e altri formati, e il flusso di lavoro può essere completato senza passaggi tecnici approfonditi, mantenendolo accessibile ai principianti.
Assegna un soprannome a ogni bozza per tenere traccia delle modifiche; questo mantiene chiara la traiettoria e riduce i cicli lenti, accelerando il processo complessivo e affinando l'esito finale.
Struttura il tuo flusso di lavoro attorno a tre formati principali: verticale 9:16 per TikTok, quadrato 1:1 per i feed e orizzontale 16:9 per il long-form. Mantieni la storia breve, testa più palette di colori e prova il ritmo per evitare uscite lente; questo approccio aumenta la ritenzione su tutti i formati.
Per massimizzare l'accessibilità, produci sottotitoli automaticamente e assicurati che il contrasto delle immagini rimanga leggibile sugli schermi mobili. Scopri scorciatoie pratiche come modelli riutilizzabili e una libreria di risorse che supportano iterazioni rapide, che potrebbero aumentare la ritenzione e ampliare la portata su tutti i formati.
Creazione Video AI Animoto – Piano Rapido per la Localizzazione Globale

Raccomandazione: approva uno sprint di gruppo di 72 ore che localizza sottotitoli, sovrapposizioni e segnali vocali nei mercati principali, quindi valida utilizzando un piccolo panel di tester prima di scalarlo.
Tutorial per scrittori e marketer sono essenziali; fornisci un progetto di sceneggiatura compatto che rientri nel budget e mantenga efficienti i team impegnati. Utilizza una cassetta degli attrezzi di modelli gratuiti e riutilizzabili per ottenere risultati di grande impatto.
La selezione di lingue e località richiede una chiara matrice: mercato di riferimento, sfumature culturali e avvisi normativi. Quando scegli, allinea le risorse ai media tradizionali rispetto a quelli digital-first e mappa la tipografia, il colore e il ritmo al ritmo locale.
Flusso del processo: riutilizza le risorse esistenti tramite un aggiornamento di gruppo, sostituisci gli elementi contrassegnati e itera dopo il feedback crowdsourced nei forum. Tieni traccia dei clic e delle visualizzazioni per quantificare l'impatto; regola ritmo e sceneggiatura per l'esecuzione successiva.
Budget e prestazioni: alloca un budget snello per la localizzazione iniziale, quindi reinvesti in base ai risultati. Utilizza modelli gratuiti o a basso costo per testare concetti; scala solo dopo un segnale di coinvolgimento da parte degli utenti e degli stakeholder aziendali.
Coinvolgimento: questo piano sostituisce i flussi di lavoro tradizionali più lenti e semplifica la collaborazione tra forum e canali interni. Gli utenti impegnati vedono cicli di feedback più rapidi; grazie a questo piano, i marketer aziendali ottengono chiari segnali sui dati di coinvolgimento, mentre scrittori e tester iterano su lingua e ritmo.
Definisci la Tua Storia in 5 Minuti con Prompt AI
Raccomandazione: crea cinque prompt ora per delineare ogni scena, quindi inserisci le risorse nella tua timeline e collegale tramite un arco narrativo chiaro. Mantieni i prompt brevi – meno di 20 parole – e ancorali a una singola località, personaggio o azione. Questo avvio rapido aiuta i non esperti a produrre una narrazione coerente in pochi secondi.
Passaggio 1 – Genere, visualizzazioni e posizionamento: Definisci genere, pubblico di riferimento e aspetto. Decidi dove inizia la storia, dove cambiano le tonalità di colore ed esatto rapporto d'aspetto. Usa una riga per battuta per mappare tempo e ritmo.
Passaggio 2 – Creazione dei prompt: Crea cinque prompt che descrivono azione, ambientazione ed emozione. Ogni prompt dovrebbe includere un verbo, una località e un indizio visivo. Includi opzioni di sfondo come immagini fisse, sfondi ciclici o scene generate. Salva le risorse come risorse gratuite o risorse create dalle librerie di Kapwing e Filmora.
Passaggio 3 – Mappatura della timeline: Mappa i prompt su una timeline in secondi per battuta. Usa un piano di integrazione di 7 giorni per rivedere i progressi nei forum, ottenere feedback da non esperti e regolare la narrazione. Usa la battuta chiave per guidare la narrazione e le visualizzazioni per il ritmo.
Passaggio 4 – Raccolta delle risorse: Raccogli le risorse: cerca risorse esatte che corrispondano al tipo e allo sfondo. Prova più sfondi per la stessa scena e seleziona l'aspetto migliore. Se non riesci a trovare corrispondenze, crea visualizzazioni utilizzando Kapwing o Filmora, quindi esporta versioni in diversi rapporti d'aspetto per il test.
Passaggio 5 – Esportazione e test: Esporta la sequenza compilata e rivedila nell'anteprima dell'editor. Il processo si completa in pochi secondi, regola il ritmo nella prima passata e riesporta. Assicurati che il montaggio finale sia libero da condividere e facile da distribuire su forum o canali pubblicitari.
Suggerimenti aggiuntivi: etichetta ogni battuta con un timecode, quindi collega una battuta chiave direttamente al prompt. Usa la prima inquadratura per stabilire l'umore, la battuta centrale per cambiare ritmo e l'ultima battuta per segnalare la prontezza all'esportazione. Una volta terminato, premi il pulsante per renderizzare un'anteprima completa e iterare rapidamente.
Seleziona un Modello, Carica i Media e Sincronizza le Visualizzazioni
Scegli un modello che corrisponda al pubblico e all'esito; questa cornice imposta ritmo, bilanciamento del colore e tipografia prima che vengano aggiunti i media.
-
Scelta del modello
- Abbina temi e stili all'argomento e all'umore del pubblico.
- Conferma che il modello offra spazio per sottotitoli, loghi e callout, supporti il branding su tutti i layout e possa gestire la lunghezza più altro per enfasi.
- Anteprima di una breve sequenza dimostrativa per verificare il ritmo e il potenziale per nuove transizioni.
- Cerca una struttura che supporti risoluzioni più elevate e tempi flessibili per migliorare il successo.
-
Caricamento dei media
- Prepara immagini e clip in alta risoluzione; usa 16:9 o 9:16 a seconda del pubblico e delle piattaforme.
- Raggruppa i media per scena e mantieni i nomi dei file chiari per accelerare l'assemblaggio per i team.
- Posiziona gli asset di branding (logo, colori, font) in una cartella dedicata per supportare la coerenza tra temi e stili.
- Se includi filmati, assicurati che colore e illuminazione rimangano coerenti e che le dimensioni dei file rimangano gestibili.
-
Sincronizzazione delle visualizzazioni
- Collega le visualizzazioni alle frasi della sceneggiatura; regola i tempi in modo che ogni punto corrisponda alla narrazione, garantendo chiarezza per il pubblico.
- Regola tempi e transizioni per colpire i punti chiave; rivedi frequentemente il risultato dal punto di vista del pubblico per cogliere precocemente disallineamenti.
- Correggi rapidamente i disallineamenti raffinando i keyframe o tagliando le clip; registra le correzioni da riutilizzare nelle future modifiche e scrivi note per il team per evitare malintesi.
- Mantieni il flusso pulito: fai risaltare i punti essenziali con un movimento misurato e allinea al tono generale, evitando affaticamento per gli spettatori stanchi.
Genera Voiceover AI e Allinea l'Audio alle Scene
Raccomandazione: usa il voiceover AI di Kapwing per generare una narrazione naturale e bloccarlo sulla timeline per un preciso abbinamento delle scene.
Inizia con una sceneggiatura concisa mappata agli obiettivi; mantieni i segmenti brevi per adattarli a venti secondi per immagine e mantenere un flusso creativo lungo la sequenza.
Imposta i parametri vocali: opzioni di tono, genere, intervallo di velocità 0,8-1,15 e lunghezze delle pause; monitora i suoni per mantenere la chiarezza in tutte le connessioni.
Allinea alle scene: posiziona ogni blocco audio alle transizioni delle immagini; usa dove la sceneggiatura segnala un cambiamento di umore o ambientazione preservando un ritmo veloce.
Ottimizzazione: applica personalizzazioni come pause, enfasi e compressione; il riassunto delle modifiche dovrebbe riflettere il cambiamento e mantenere il flusso costante.
Suggerimenti per il controllo dell'umore: un'atmosfera estiva beneficia di un timbro più luminoso; un personaggio stanco beneficia di una cadenza più lenta; assicurati che immagine e narrazione rimangano sincronizzate per un impatto creativo.
Vantaggio del flusso di lavoro: semplifica la generazione di contenuti vocali, riduce i passaggi di andata e ritorno e fornisce una timeline chiara che supporta un'iterazione più veloce del venti percento; grazie a questo flusso di lavoro, i team possono pubblicare prima.
| Passo | Azione | Strumento / Note | Durata |
|---|---|---|---|
| 1 | Prepara script conciso | Obiettivi allineati; suggerimenti per le immagini annotati | 2-3 |
| 2 | Genera voce fuori campo AI | kapwing; scegli il tono; imposta la velocità | 1-3 |
| 3 | Allinea alla timeline | Posiziona alle transizioni di scena; regola le pause | 2-4 |
| 4 | Ottimizza l'audio | Compressione, guadagno; normalizza a -12 a -6 dB | 1-2 |
| 5 | Anteprima ed esportazione | Controlla il riassunto; regola se necessario | 1 |
Sottotitola, Localizza il Testo e Adatta le Immagini per i Mercati di Destinazione
Inizia con sottotitoli di una sola riga scritti per ciascun mercato, assicurandoti che l'aggancio corrisponda al ritmo e al ritmo di lettura locali.
Esegui un passaggio di rilevamento per identificare il testo sullo schermo e applica le traduzioni senza creare disordine, mantenendo le didascalie leggibili sugli schermi dei dispositivi mobili.
L'utilizzo di tecniche tratte da corsi di riferimento aiuta a pensare al tono, alle immagini e ai segnali culturali prima di iniziare la produzione.
Costruisci una checklist di localizzazione e una libreria di modelli per accelerare la creazione e la produzione, con terminologia e tono coerenti tra i mercati.
Pianifica ore e attività: assegna ruoli, stima le ore e monitora i progressi con checkpoint.
Immagini curate: regola palette di colori, tipografia, icone e immagini per adattarle alle preferenze regionali; testa con piccoli gruppi su dispositivi.
Asset focalizzati su Instagram: adatta didascalie, hashtag e miniature per le community, integrando riferimenti locali e comportamento degli utenti.
Controllo qualità manuale: revisioni da parte di madrelingua, rilevamento di errori di traduzione e test della dimensione dei font per garantire la leggibilità su vari dispositivi.
Tieni tutto registrato in una libreria di riferimento attiva: note su tono, uso delle immagini e vincoli normativi; le tue modifiche informano i cicli futuri.
Controllo finale: evita stereotipi, mantieni l'accessibilità e ottimizza per Instagram e altre community senza sacrificare la chiarezza.
Esporta, Ottimizza i Formati e Pubblica con Metadati Locali
Esporta a 1080p, 30fps, MP4 utilizzando H.264 e AAC 192 kbps. Questa configurazione ti aiuta a ottenere un'ampia compatibilità tra dispositivi e piattaforme; questi parametri sono necessari per un'ampia distribuzione.
Abilita preset basati sull'IA per adattare la bitrate dinamica per scena, preservando movimento e dettagli; correzioni automatiche di colore e luce preservano un tono naturale e garantiscono una riproduzione fluida.
Dividi il flusso di lavoro in una timeline di attività: rendering, codifica e allegare metadati locali; tieni un riferimento per coordinare un aggiornamento.
I campi dei metadati locali dovrebbero includere Titolo, Descrizione, Tag, Creatore, Posizione, Copyright, Licenza e Timestamp; incorpora nell'intestazione del file o archivia come file sidecar per riferimenti offline.
Utilizza formati che preservano i metadati: XMP o IPTC in sidecar parallelo; incorpora campi essenziali nelle caselle dei metadati MP4 quando possibile; conserva un riferimento JSON separato per la pubblicazione batch; se ti affidi a materiale di repertorio, cita le fonti nei metadati.
Pubblica sul tuo canale di distribuzione in un unico passaggio; verifica che risoluzione e proporzioni soddisfino i requisiti della piattaforma; seleziona una modalità di distribuzione adatta ai dispositivi; allega file di didascalie e tracce audio alternative; conferma che i metadati rimangano intatti dopo l'upload.
Guarda le anteprime su smartphone, tablet e desktop per verificare la riproduzione; verifica l'accuratezza dei colori in diverse condizioni di luce, conferma i segnali di repertorio e verifica la sincronizzazione audio.
Una checklist divisa controlla le impostazioni di esportazione, i campi dei metadati e la timeline di rilascio; fai riferimento alla pipeline esatta per mantenere sincronizzate le note lungo il percorso; grazie.


