
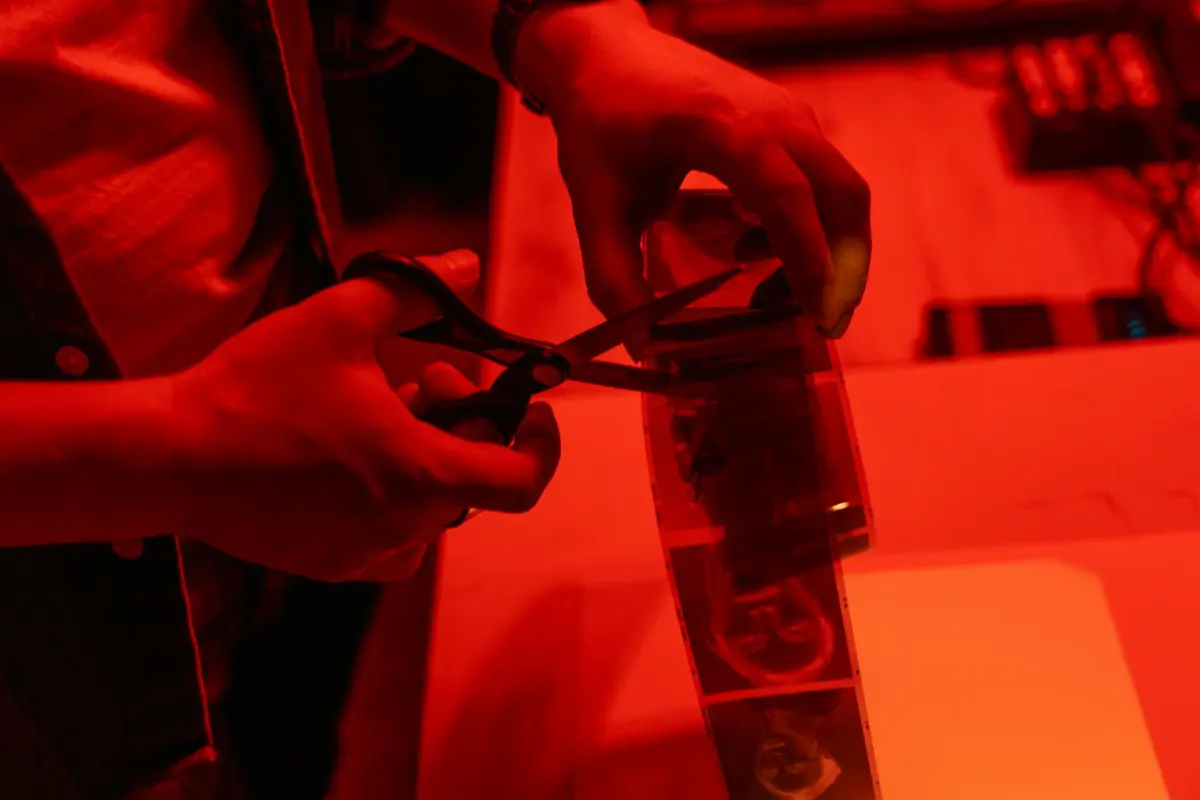

Empieza hoy mismo creando un índice rápido de tus medios y alimenta a la IA con anotaciones manuales para cada escena. Este enfoque reduce el trabajo repetitivo y acelera el refinamiento en múltiples proyectos.
Existe un patrón común en el que los ajustes asistidos por automatización aceleran tareas rutinarias como el equilibrio de color, la corrección de distorsión de barril y la generación de subtítulos; los equipos de diferentes departamentos pueden alinearse en torno a un conjunto compartido de preajustes para mejorar la eficiencia hoy mismo.
Para maximizar los resultados, explora múltiples opciones de ruta: reproduce un fotograma, compara variaciones de escenas y acepta ediciones que coincidan con tu tono. El sistema admite la creación de subtítulos y las actualizaciones de preajustes para que puedas ajustarte rápidamente.
Mantén la flexibilidad del flujo de trabajo hoy mismo; puedes ajustar manualmente los resultados para material sensible, mientras que la automatización principal se encarga del resto. Este equilibrio mejora la eficiencia y mantiene la flexibilidad para los equipos de diversas disciplinas, permitiéndoles centrarse en la narración en lugar del trabajo pesado.
Ten en cuenta que el enfoque se escala en dispositivos y estudios; cada actualización amplía la capacidad de manejar diversos activos y garantiza la coherencia de los metadatos y la alineación de los subtítulos, lo que ayuda a los equipos a mantenerse alineados con el brief del proyecto. Utiliza un feed rápido para recopilar comentarios y mantener el índice preciso.
Conjunto de herramientas de IA de FCP 11: Integración de nuevas automatizaciones en tu flujo de trabajo de edición
Habilita las automatizaciones introducidas del conjunto de herramientas de IA para encargarse de las tareas comunes automáticamente, liberando al editor de ediciones largas y repetitivas y ofreciendo resultados fluidos sin pasos adicionales, y aportando consistencia entre los sujetos por igual.
Coloca las automatizaciones para que se ejecuten en segundo plano entre clips, creando un punto de partida fluido y ampliando el espacio en la línea de tiempo para decisiones creativas.
Identifica sujetos y entrevistas durante el registro, luego transforma los metadatos para ayudarte a saber dónde encontrar los clips más rápido, y puedes ajustar manualmente el etiquetado si una escena requiere matices.
Utiliza las banderas generadas automáticamente para guiar las ediciones, pero mantente consciente del uso ético y lleva un registro claro de las decisiones para apoyar la validación y la colaboración; sin embargo, ten una anulación manual disponible para momentos críticos.
Comienza con una prueba gratuita, evalúa cómo estas automatizaciones se alinean con tu flujo de trabajo entre ediciones preliminares y pases finales, luego decide si extiendes su uso a lo largo del proyecto.
Detección automática de escenas: Configura umbrales de corte para metraje multicámara y tomas largas
Comienza con un umbral de 1.5–2.0 segundos para metraje multicámara para preservar cambios rápidos de ángulo; para secuencias de tomas largas, establece de 4 a 8 segundos para evitar la sobresegmentación. Este enfoque permite que las historias fluyan con una imagen clara y un ritmo agradable, mientras que el brillo entre ángulos se mantiene equilibrado en la pantalla.
En el panel de detección de escenas, alterna entre los modos automático y editable, luego selecciona un valor de umbral; el sistema previsualizará los cortes en tiempo real, ayudándote a fijar el ritmo principal y mantener un carrete limpio para el uso en redes.
Para configuraciones multicámara, un umbral más bajo (1.0–2.0 s) captura cambios frecuentes de cámara; para material de toma larga, auméntalo a 5–12 s para preservar el ambiente. Además, usa superposiciones para marcar transiciones para otros que revisen el carrete, proporcionando contexto sin ralentizar el flujo de trabajo.
Los preajustes descargados proporcionan un comportamiento consistente en todos los proyectos; las comparaciones directas te ayudan a comparar resultados, y el sistema personalizado ofrecerá comentarios instantáneos en la línea de tiempo principal, manteniéndose editable y potente para transmisiones en vivo.
La tabla a continuación ofrece una referencia rápida para escenarios y umbrales comunes:
| Escenario | Umbral Sugerido (s) | Notas |
|---|---|---|
| Multicámara de corte rápido | 1.0–1.5 | Captura cambios frecuentes; picos de brillo pueden desencadenar cortes |
| Multicámara equilibrado | 1.5–2.5 | Ritmo típico; transiciones limpias |
| Escenario de toma larga | 4.0–8.0 | Preserva el ambiente; evita cortes excesivos |
| Diálogo de toma larga | 6.0–12.0 | Mantiene la continuidad; considera superposiciones para pausas |
Reencuadre inteligente para redes sociales: Ancla sujetos, establece relaciones de aspecto y reencuadra secuencias por lotes
Recomendación: Ancla al sujeto con seguimiento, luego fija cada fotograma a las relaciones de aspecto deseadas (9:16, 1:1, 16:9) y aplica un reencuadre por lotes en toda la secuencia. Este enfoque bien estructurado ofrece una vista consistente en todas las fuentes y acelera el ciclo de producción.
Habilita el seguimiento automático en el sujeto principal y elige puntos de anclaje (ojos o torso) para mantener la acción centrada. Si el sujeto tiende a desviarse, cambia a ajustes manuales ocasionalmente para evitar la compresión en los bordes y mantener espacio para titulares superpuestos en pantalla. Esta configuración detallada reduce el ajuste manual y estabiliza la vista durante movimientos rápidos.
Los flujos de trabajo de reencuadre por lotes te permiten crear preajustes por relación de aspecto y aplicarlos a docenas de clips en una sola pasada. La mayoría de las veces, revisarás un puñado de fotogramas por clip y ajustarás solo cuando el movimiento o la iluminación cambien drásticamente. Al aplicar un anclaje consistente en todo el lote, evitas desequilibrios entre escenas y preservas un ritmo de narración unificado.
Para formatos de redes sociales, reserva 9:16 para fuentes verticales y 1:1 para cuadrículas cuadradas; 16:9 sigue siendo útil para planos generales y previsualizaciones. Usa el seguimiento para mantener al sujeto a la vista mientras cambias las relaciones de aspecto, y genera subtítulos o indicaciones de voz que se mantengan dentro de los márgenes seguros. Este método ayuda a que los titulares y las llamadas a la acción aterricen limpiamente sin aglomerar al sujeto.
El almacenamiento y la distribución se vuelven fluidos cuando creas un centro central para los activos y sincronizas de forma inalámbrica las actualizaciones a estaciones de trabajo o dispositivos descendentes. El editor entrega variantes rápidamente, y la fuente puede actualizarse con un solo guardado. Los flujos de trabajo creados por johnson ofrecen un camino simplificado para generar múltiples formatos, asegurando que puedas responder rápidamente a las tendencias y mantener un nivel notable de participación en todas las plataformas.
Notas: ten cuidado con los desequilibrios de movimiento entre clips; un paneo repentino puede desviarse después del reencuadre, así que realiza una pasada de validación rápida. Esta mejora ofrece un gran impulso en la participación cuando se combina con efectos y titulares bien sincronizados. Puedes instalar este enfoque y enviar actualizaciones al almacenamiento de forma inalámbrica, manteniendo el siguiente lote listo para la fuente y fácilmente escalable.
Eliminación de ruido y zumbido con IA: Selecciona preajustes, ajusta bandas de frecuencia y audiciona resultados
Comienza con un preajuste automático para el zumbido y el ruido de fondo, luego audiciona los resultados contra la escena actual para confirmar datos de fotograma limpios y una atmósfera cinematográfica, más limpia que antes.
Elige preajustes alineados con el perfil de ruido: eliminación de zumbido para zumbido eléctrico, limpieza de siseo para aire de fondo y una limpieza general para escenas con viento. Identifica la fuente principal y mantén la señal intacta para las intenciones del creador, especialmente cuando la escena depende de la inteligibilidad del habla y las indicaciones de subtítulos.
Ajusta ocho bandas de frecuencia: 20–80 Hz (retumbar), 80–160 Hz (golpeteo), 160–400 Hz (barro), 400 Hz–1 kHz (claridad de voz), 1–3 kHz (presencia), 3–6 kHz, 6–12 kHz, 12–20 kHz. Aplica cortes quirúrgicos en las bandas donde domina el ruido y utiliza aumentos suaves en las bandas que transportan información que preserva el fotograma. El objetivo es aislar el ruido mientras se preserva el timbre natural y el ambiente de la película.
Audiciona los resultados fotograma a fotograma: reproduce a velocidad normal y a cámara lenta para detectar artefactos, especialmente alrededor de las transiciones entre escenas y las indicaciones de movimiento. Compara con los datos originales para confirmar que el fondo se ha domado sin matar la creatividad. Si hay una pista de subtítulos, verifica que la alineación siga siendo precisa después de la limpieza, luego fija el resultado.
Flujo de trabajo: comienza con reducciones moderadas y refina en ocho pasos, evitando cambios rápidos que causen bombeo. Mantén el tono transparente para que la audiencia perciba un ambiente natural en lugar de un acabado procesado.
Comprobaciones basadas en datos: registra los datos espectrales antes y después, identifica el ruido residual en las ocho bandas y confirma que los resultados satisfacen completamente el estándar de grado de estreno. La configuración actual debe ser repetible en los siguientes clips, asegurando una línea base consistente para las producciones.
Enfoque profesional: creado para creadores que buscan mantener la mente para la atmósfera mientras ofrecen diálogos claros. El proceso es lento pero preciso; utilice el curso de ajustes para afinar y luego audicione de nuevo para asegurarse de que el resultado se mantenga fiel al estado de ánimo y a la información narrativa de la escena.
Punto de partida y mentalidad: comience con una línea de base incorporada y aumente gradualmente la intensidad solo según sea necesario. Hoy en día, ocho pasos de ajuste cuidadoso pueden lograr el aislamiento del ruido de fondo sin comprometer la sensación cinematográfica, manteniendo los datos honestos y el resultado final listo para el estreno.
Reemplazo de fondo y limpieza de máster: Aísle sujetos y refine detalles de cabello y bordes
Utilice una función neuronal que aísle el sujeto en el marco con una máscara cerrada y, a continuación, reemplace el fondo con una placa limpia. Este enfoque a menudo produce bordes de cabello precisos y límites fusionados, y funciona bien en vistas previas en vivo durante la sesión de edición. Para obtener el mejor resultado posible, explore cómo la transformación neuronal maneja el color del borde y los halos de los bordes. Verifique siempre la fuente para la referencia de color en la toma.
- Prepare la toma: asegure material fuente de alta resolución, iluminación uniforme y un fondo que ofrezca un fuerte contraste para respaldar una separación precisa del cabello y los detalles finos.
- Genere el máster inicial: elija una función neuronal que detecte los elementos del sujeto, establezca la máscara en cerrada y ajuste el umbral para que el sujeto se aísle por completo sin incluir elementos de fondo.
- Refine bordes y cabello: habilite el refinamiento de bordes, aplique un pequeño calado (0,5-2 px) y ejecute la descontaminación para reducir el derrame de color; acerque los mechones finos para mejorar la precisión y crear una transición fusionada con el nuevo fondo.
- Reemplace el fondo: seleccione una placa de fondo con perspectiva e iluminación coincidentes; alinee el ancla y utilice transformaciones para corregir la escala o la paralaje; verifique que el resultado siga siendo bueno en el movimiento y mantenga la profundidad natural.
- Comprobaciones de calidad y exportaciones: pruebe en varias plataformas y con editores de terceros para garantizar la coherencia; genere una versión más larga para secuencias críticas y una versión más ligera para vistas previas rápidas; documente la configuración utilizada para futuras iteraciones.
Para estudios que utilizan plataformas amortiguadas por silicona, mantenga la máscara estable durante la reproducción en vivo; un máster sólido dura más y reduce la necesidad de rehacer el trabajo. Este enfoque también resulta útil para marcas que buscan una entrega rápida y composiciones precisas. En la práctica, explore el flujo de información de la fuente y mantenga un historial de versiones para rastrear transformaciones y mejoras en las tomas.
Coincidencia de color por IA y agrupación de tomas: Coincida tonos de piel, equilibre la exposición y aplique clasificaciones vinculadas
Recomendación: Habilite la coincidencia de color por IA en toda la secuencia y cree grupos de tomas por sujeto e iluminación, luego aplique clasificaciones vinculadas a cada grupo. Esto mantiene los tonos de piel consistentes entre las transiciones de fotogramas, sincroniza clips de ocho cámaras, incluidas las capturas de iPhone y las de otros cuerpos, y los objetos en el marco permanecen visualmente conectados a medida que se desarrolla el movimiento.
Detalles del proceso: Los ajustes generados por IA se basan en un objetivo de tono de piel de referencia y un conjunto de preajustes; hemos afinado la detección de tonos de piel y la exposición, realiza comprobaciones de luminancia, exposición y equilibrio, luego aplica una clasificación unificada a cada grupo, manteniendo controlada la potencia de procesamiento. Puede deshabilitar la opción automática y ajustar fotograma a fotograma si es necesario; la clasificación funciona automáticamente y preserva la originalidad. Una configuración fácil de aprender ayuda a los equipos a adaptarse rápidamente.
Lógica de agrupación: Los datos de seguimiento de las cámaras ayudan a agrupar fotogramas donde el movimiento y el sujeto son consistentes; si trabaja solo, Johnson en dos dispositivos, el sistema conecta fotogramas para preservar la continuidad; visionos y el contenido de iPhone se introducen en el mismo mapa de color; la línea de tiempo magnética ayuda a mantener las clasificaciones vinculadas en su lugar.
Consejos prácticos: verifique los tonos de piel en fotogramas de muestra y ajuste los umbrales si las manzanas parecen sobresaturadas o teñidas. Mantenga los cambios sutiles dentro de un rango pequeño para evitar saltos visibles; utilice una profundidad de ocho o diez bits según corresponda y alinee la clasificación en todo el grupo para mantener la coherencia.
Rendimiento y disponibilidad: disponible en dispositivos visionos y Mac; cargue preajustes y ejecute comprobaciones automáticamente, luego pase a premiere para la alineación entre proyectos. Esa función generada por IA reduce el tiempo de manipulación y aumenta la originalidad mientras usted monitoriza los resultados en tiempo real.


