

Začněte mapováním emocionálních podnětů na video prvky generované generátory videí AI; stanovte základní úroveň pozorovatelných signálů a propojte je s konkrétními metrikami. Použijte generativní obrazové prostředky spárované se synchronizovaným audiem a ověřte načasování v toleranci ±100 ms napříč několika datovými sadami.
V sekci začít se více týmů shoduje na sdílené taxonomii podnětů a zajišťuje vícejazyčná metadata; anotujte datové sady konzistentně a ověřujte mezikulturní relevanci.
Na základě experimentů byste měli kalibrovat barvu, osvětlení a intenzitu gest, abyste posílili podněty; implementujte jednoduchou bodovací stupnici, která hodnotí soulad mezi intenzitou podnětu a vnímáním publika, a dokumentujte prahové hodnoty pro účely odpovědnosti.
Prozkoumejte vícejazyčné prompty; společně s lingvisty a editory vytvořte zpětnovazební smyčku, která aktualizuje video prvky a datové sady; vždy provádějte A/B testy napříč vícejazyčnými výstupy, abyste potvrdili soudržnost.
Spolehlivé výsledky závisí na důsledném logování; začněte strukturovanou sekcí, která chronologicky zaznamenává datové sady, prompty, metriky a výsledky; na základě toho upravte pracovní postup; vždy zajistěte reprodukovatelnost.
Praktický průvodce AI videi
Začněte stručným, přístupným úvodem, který signalizuje výsledky během prvních 3 sekund, abyste maximalizovali udržení pozornosti a míru prokliku. Zvolte čistý styl s čitelnou typografií a minimem textu na obrazovce; použijte pohybové podněty, které vedou pozornost a nastavují tón pro sekvenci.
Prompty řídí každý záběr. Pro každou sekci vytvořte kompaktní sadu promptů, která definuje vizuální prvky, pohyb a zvukové podněty. Každý prompt by měl sloužit funkci: zaujmout, vysvětlit a posílit; prompty přicházejí s podněty, které se mapují na vizuální prvky a vyprávění, takže zpráva zůstává soudržná. Tento přístup řízený prompty pomáhá udržet výsledný klip poutavý a efektivní.
- Plánování sekcí – definujte tři mikro-sekce: zaujetí, hlavní sdělení a závěrečná karta. Každý segment by měl doručit jednu myšlenku; každý snímek posiluje ústřední tvrzení, a co je důležitější, udržujte ostré přechody pro podporu udržení pozornosti a snadný proklik.
- Vizuální rytmus a pohyb – preferujte řízený pohyb (jemné panoramování, jemné přibližování nebo posuvné prvky), který je v souladu s vyprávěním. Cílem je poutavý kontrast a zvučné podněty, které posilují význam bez přehlcení diváka. Nepřehlcujte textem. Používejte intuitivní prompty, které divákům pomohou sledovat a rychle pochopit hlavní myšlenku.
- Přístupnost a zapojení – zajistěte vysoký kontrast, čitelné titulky a škálovatelnou typografii. Používejte obzvláště jasné vizuální prvky pro diváky, kteří sledují bez zvuku; poskytněte alternativní prompty pro sdělení významu, když je zvuk vypnutý, a přizpůsobte barvy, abyste udrželi čitelnost na všech zařízeních.
- Testování a optimalizace – měřte konečné udržení pozornosti a míru prokliku napříč různými publiky. Iterujte prompty a vizuální prvky na základě zpětné vazby; sledujte funkční signály, jako jsou body poklesu publika a dokončení sekce, a udržujte prompty efektivní a v souladu s možnostmi technologie pro zlepšení výkonu.
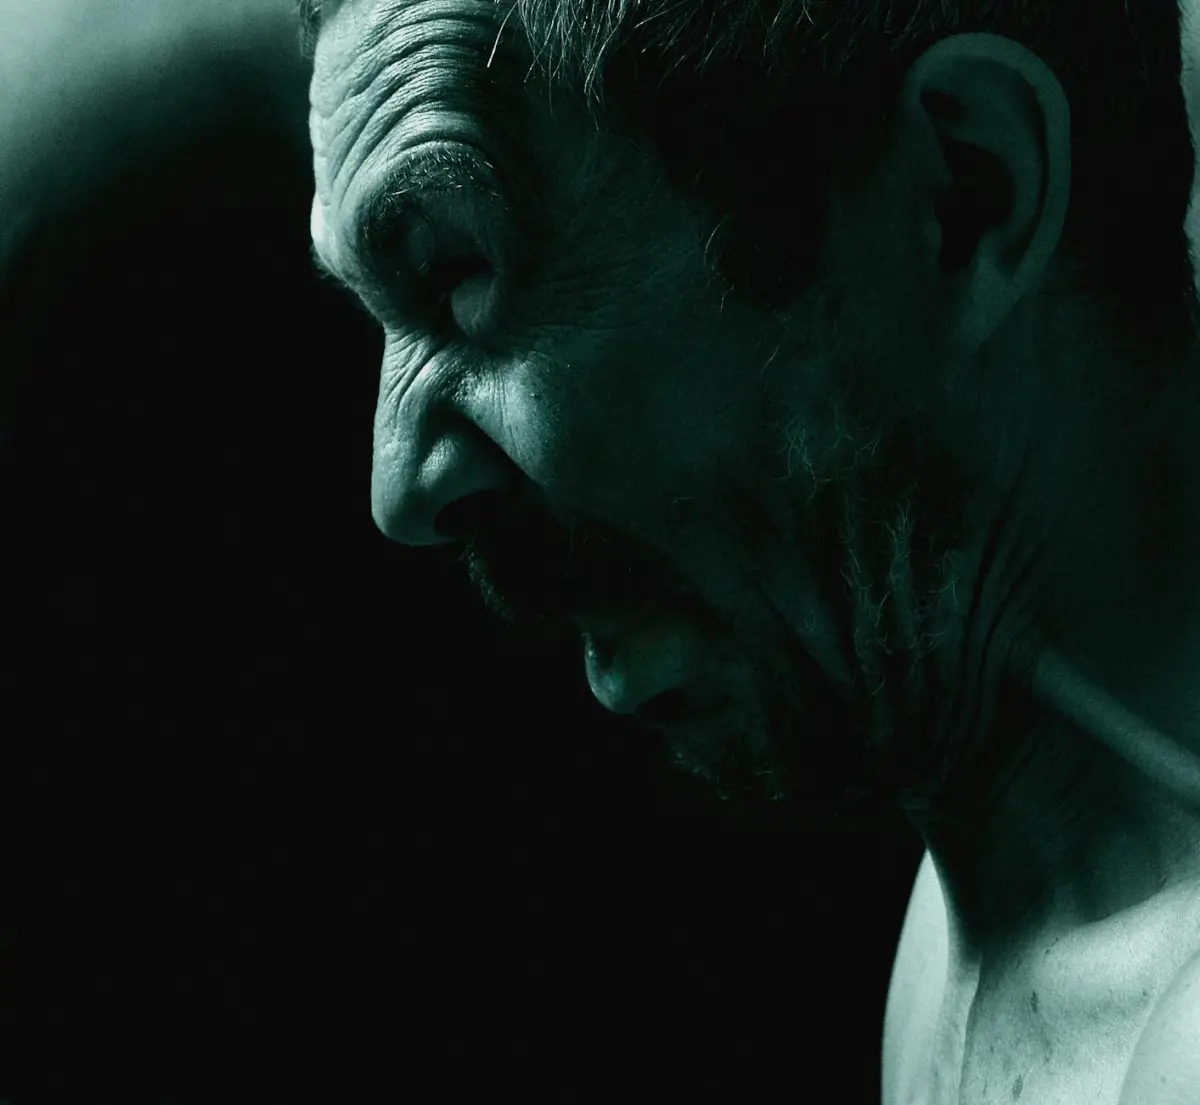
Identifikujte cílové emoce a odpovídající obličejové podněty pro postavy na obrazovce
Začněte výběrem 4–6 základních emocí a automaticky namapujte přesné obličejové podněty na vaše animační rigy; odpovídá očekáváním a vizuálnímu stylu napříč platformami. Vytvořte znovupoužitelný list podnětů pro školení zákazníků a video obsah. Aplikujte jemné doladění a kreativní nástroje k dosažení umělé důvěryhodnosti; používejte automatické kontroly k ověření podnětů před vykreslením, abyste byli připraveni k dodání a mohli udržet vysoký standard napříč záběry.
Každou emoci ukotvěte k těsné sadě podnětů podle oblastí obličeje: oči, obočí, ústa a postavení hlavy. Používejte malé, nenápadné mikro-pohyby k dodání realismu bez propadnutí do „uncanny valley“. Využijte své výrobní postupy k zachycení podnětů ve více formátech a zajistěte konzistenci napříč platformami; další iterace a ověřování by měly být součástí pracovního postupu, aby podporovaly konzistentní vizuální výstupy a vícerázové produkce.
| Emoce | Klíčové podněty | Úpravy animace | Ověření |
| Šťastný | Oči s mírným mrknutím, koutky úst zvednuté, tváře zvednuté; obočí neutrální až mírně zvednuté | Úsměv 0,6–0,9; zvýraznění zdvihače horního rtu; otevřenost očí vysoká, ale ne široká; čelist uvolněná | Porovnání s referenčním základem; percepční test s 2–3 pozorovateli; zajistěte, aby podnět odpovídal náladě v 90 % případů |
| Překvapení | Obočí zvednuté, oči rozšířené, ústa mírně pootevřená; hlava se může mírně zaklonit | Čelist poklesne o 8–18 stupňů; zvýšená expozice bělma; úpravy zvednutí víčka; napětí ve střední části obličeje sníženo | Rychlý test v náhledových renderech; ověřte, že omezení 1–2 platforem neomezují pohyb očí nebo čelisti |
| Hněv | Obočí stažené k sobě, oči přivřené, ústa stisknutá nebo rty napjaté | Horní část obličeje aktivní se zaťatou čelistí; stlačení tváří a rtů; snížená otevřenost očí | Kontrola konzistence s referenčními snímky; zajistěte, aby míra stažení obočí odpovídala intenzitě scény |
| Smutek | Vnitřní obočí zvednuté, koutky úst dolů, mírný pokles dolních víček; pohled dolů | Zjemnění svalů tváří; koutky úst dolů; minimální pohyb čelisti | Hodnocení s klidným základem; potvrďte, že vnímaný smutek odpovídá kontextu scény napříč platformami |
| Strach | Obočí zvednuté ke středu, oči rozšířené, ústa mírně pootevřená; hlava se může zaklonit | Otevřenost očí vysoká; otevření úst omezené; jemné třesy ve svalstvu dolní části obličeje | Kontrola zamezení přehnanosti; testujte v různých světelných a kompresních úrovních |
| Znechucení | Zvrásnění nosu, zvednutý horní ret, oči přivřené | Pohyb nosu se zvednutím horního rtu; napětí střední části obličeje; vyhněte se karikatuře | Posuďte úroveň vnímaného znechucení s naivními diváky; upravte, abyste snížili misinterpretaci |
Používejte tuto tabulku jako živý dokument ve svém „toolbox“ řešení a při využívání platforem. Pravidelně aktualizujte podněty po nových testech, aplikujte jemné doladění a udržujte soulad napříč kreativními pracovními postupy; integrujte automatizované kontroly a adaptace specifické pro platformu, abyste udrželi video obsah konzistentní, jazykově a vizuálně poutavý, bez dodatečné režie. Tento přístup podporuje vaši tvorbu, umožňuje efektivní školení zákazníků a minimalizuje nenápadné nesrovnalosti v reálném světě, přičemž dále zlepšuje uživatelský zážitek s umělými, ale uvěřitelnými výkony.
Vyberte modely AI pro syntézu emocí ve videu a synchronizaci rtů
Začněte s Heygenem jako základem pro synchronizaci rtů řízenou emocemi, protože jeho engine poskytuje vyšší věrnost synchronizace dialogu řádek po řádku a pohybu obličeje, s ovládáním řízeným zvukem a rychlými iteracemi. Pomocí něj můžete testovat řádky z tilawat a současných scénářů, abyste posoudili emocionální rozsah; platforma během let zpřísnila synchronizaci a stále nabízí jasné zveřejnění trénovacích dat pro informované zodpovědné používání.
Kromě Heygenu vyhodnocujte platformy ve dvou směrech: na platformě integrované enginy s předdefinovanými šablonami emocí a externími postupy, které umožňují plnou kontrolu pomocí skriptů, vlastních obličejových rigů a externích úprav enginu. Zahrnuje možnosti s vyšší i nižší složitostí, takže můžete vyměnit okamžitost za kreativitu. Obrázky, storyboardy a další vizuální prvky lze importovat k vytvoření soudržných tvůrčích linií, zatímco lidská expresivita se zlepšuje, když spojíte dynamické zvukové podněty s rafinovaným načasováním linií.
Klíčová kritéria: věrnost synchronizace rtů, cílená expresivita, latence a otevřenost dat. Vyšší věrnost přichází s těsnějším mapováním zvuku na obličej a dynamickým vizuálním tokem; nižší latence je prospěšná pro živé nebo téměř živé pracovní postupy. Vyberte enginy, které nabízejí ovládání prozódie, posuvníky emocí a metadata, která můžete auditovat, což je důležité pro zveřejnění a etické týmy. Pro kreativní obraty poskytuje kombinace promptů řízených skripty a ovládacích prvků na úrovni linií chytřejší, kreativnější výtvory, které stále působí lidsky, nikoli uměle.
Kroky implementace: 1) definujte cílové časování řádků a vyberte zvukové vzorky (včetně variant tilawat) k testování prozódie; 2) sestavte skripty a vizuální storyboardy pro řízení dynamiky obličeje; 3) provádějte paralelní testy na nejméně dvou platformách k porovnání vyšší s nižší kontrolou; 4) zkontrolujte lidským okem jemné posuny v pohledu, mikro-výrazy a tempo; 5) zdokumentujte zveřejnění, původ a licencování každého aktiva; 6) ponechte prostor pro iterace a poznamenejte si souhrnné výsledky pro informování dalších iterací. engine
Shrnutí: Začněte s Heygenem pro rychlé úspěchy, poté přidejte platformy s otevřenými pipelinemi pro podporu kreativity, přičemž sledujte přesnost na úrovni řádků, dynamické vizuální podněty a etické zveřejňování informací. Vyšší věrnost a lépe ovladatelné scénáře umožňují bohatší tvorbu; dráhy s nižší latencí jsou vhodné pro iterativní projekty a desky, které vyžadují rychlé zpracování. V letech praxe kombinace příběhových grafických prací s bohatými vizuály a lidským pohybem přináší vynikající výsledky, které zůstávají reprodukovatelné a transparentní pro diváky.
Promptování snímek po snímku: Tvarování mikroexpresí a řeči těla
Začněte s přísným plánem snímků: uzamkněte klidnou základní linii napříč prvními 6 snímky, poté vkládejte přirozené, dramatické mikro-chování ve dvou-snímkových dávkách, abyste vytvarovali tok. Definujte cílové vrcholy pro rytmy a pokyny pro zastavení před přeskočením. Použijte kompaktní paměťový protokol pro udržení kontinuity napříč scénami.
Strukturujte prompty jako dvouvrstvý schématický zápis: základní sada tokenů, která zachovává identitu, a dynamická sada mikro-pohybů spouštěných přesnými pokyny pro snímky. Použijte paměťové tokeny k udržení konzistence pohledu, držení těla a úst napříč sekvencí, zatímco umožníte lokální posun odrážející změny tónu. Použijte styly k modulaci tempa a intenzity, např. jemné pro klidné momenty, ostré pro napjaté momenty.
Pro cílové segmenty publika přizpůsobte pokyny demografii: vytvořte sadu promptů pro manažery a jinou sadu pro moderátory v mediálních kontextech. Použijte pokročilé prompty řízené AI k doladění tělesných podnětů, které odpovídají očekáváním publika, čímž posílíte konkurenční výhodu prostřednictvím jasnosti záměru.
Desky mapují mřížku snímků: každá buňka obsahuje cíle mikro-momentů, prompty a očekávaný konečný stav. Datové sady pokrývají různé jedince, aby se minimalizovaly halucinace a zajistila se přirozená variace; revidujte s moderátory a mediálními týmy, abyste ověřili autentičnost. Vytvořené materiály a aktualizované prompty umožňují iterativní vylepšení.
Provozní pracovní postup: váš tým a moderátoři spolupracují na revizi výstupů, kalibraci tónu a aktualizaci tabulí. Použijte fond tokenů založený na paměti k opětovnému použití úspěšných podnětů napříč scénami; veďte záznam o úpravách měřítka a zaznamenejte jakékoli odchylky. To pomáhá konkurenční výhodě.
Metriky: Počítejte mikro-posuny na takt; vyvažujte přirozené a dramatické podněty; sledujte kontinuitu pomocí paměťového protokolu; sledujte využití tokenů na snímek; provádějte testy napříč datovými sadami reprezentujícími jedince z různých prostředí; ověřujte konzistenci napříč měřítky; upravujte prompty pomocí stylů, abyste zabránili odchylkám.
Materiály vytvořené na vyžádání pro nové scény pro urychlení iterace; veďte protokol přátelský pro auditory se základní linií, podněty mikro-posunu, indexy snímků a poznámkami o výkonu. Udržujte kompaktní snímek paměti pro sekvenci; sledujte tokeny na snímek a styly, které použity k zabránění odchylkám. Ověřte proti různým datovým sadám, abyste zajistili robustnost a udrželi přirozenou, klidnou, ale dramatickou rovnováhu ve velkém měřítku.
Synchronizujte hlas, tón a tempo s vyjádřenou emocí v dialogu
Začněte mapováním tří atributů na každý stav dialogu: rozsah výšky tónu, tempo a hustota pauz; ukotvěte je k emocím scény a referenčnímu klipu, poté vytvořte kompaktní tabulku stavů a zvuku a nahrajte ji do kanálu. Začněte s prvními třemi stavy jako základní linií a porovnejte je s referencí. Tento přístup podporuje rychlé ověření napříč více prezentacemi a společně zajišťuje, že celá sekvence působí koherentně pro vícejazyčné publikum a na platformách, jako je Instagram. Tento přístup působí kohezivně pro celé publikum.
- Profilování stavů: Definujte 5–7 základních stavů (klidný/neutrální, zvědavý, sebevědomý, napjatý, vřelý, oslavný, skeptický). Ke každému stavu přiřaďte cílová pásma BPM (klidný 60–70, zvědavý 85–105, sebevědomý 110–125, napjatý 95–115, vřelý 100–120, oslavný 120–140, skeptický 70–90), rozsah výšky tónu (nízký–střední pro klidný, střední pro zvědavý, střední–vysoký pro ostatní) a hustotu pauz (krátká, střední, dlouhá). Připojte prvky, jako je kadence dechu a délka samohlásek, k vyjádření nuancí; zakódujte to do obnovitelné šablony, která může řídit více prezentací.
- Mapování prvků: Specifikujte tyto speciální prvky (zarovnání dechu, přízvuk na souhlásky, rytmus konců vět) a jak se mapují na emoce. Vytvořte pro každý stav kompaktní mapování: scéna, jazyk, stav, tempo, výška tónu, pauza, artikulace; uložte jej s referenčním tagem.
- Předvolby syntézy: Vytvořte malou sadu předvoleb syntézy, které reprodukují tyto profily; zahrňte základní linii plus dvě varianty pro pokrytí různých pocitů. Uložte jakoLehký schématický zápis (JSON/CSV) a přednačtěte do editoru pro zrychlení rychlých iterací.
- Vícejazyčné kontroly: Pro vícejazyčné kontexty vygenerujte 2–3 jazykové varianty na stav; ověřte, že časování a sentiment zůstávají srozumitelné napříč jazyky. To je klíčové pro globální distribuci kanálů a pomáhá vám udržovat nejlepší konzistenci napříč publikem.
- Testování a spolupráce: Proveďte test 3 scén s multidisciplinárním týmem (spolupráce) a porovnejte výsledky s referencí. Použijte rychlou bodovací rubriku (jasnost, autenticita, dopad) a iterujte. Toto bude integrováno do pracovního postupu video strategie.
- Publikování a revize: Po iteraci nahrajte nejnovější materiály do kanálu, poté sdílejte rychlé náhledy na Instagram a interní prezentace. Zahrňte poznámky o tom, jak každý stav slouží celkovému oblouku scény, a naplánujte dodatečný průchod, pokud je to nutné k zaplnění mezer.
- Strážci kvality: Zkontrolujte, zda stavy odpovídají celému oblouku scény; ověřte, že přechody mezi stavy působí přirozeně a nepůsobí rušivě. Použijte jednotný cílový hlasitost (LUFS kolem -16 až -14) a zajistěte, aby tempo zůstalo v rámci plánovaných obálek BPM; potvrďte, že pocity odpovídají zamýšlené náladě.
Testujte, iterujte a ověřujte emocionální jasnost u diváků
Začněte konkrétním plánem ověřování: spusťte dvě varianty klipů, každou o délce 20–30 sekund, s identickým obsahem kromě tonálních podnětů; shromážděte alespoň 200 odpovědí diváků napříč různými demografickými skupinami a změřte jasnost na skutečné pětibodové škále. Analyzujte výsledky podle segmentů, abyste zjistili, kde význam bledne a kde dopadá konzistentně.
Použijte předzpracování ke stabilizaci osvětlení, vyvážení barev, směru pohledu a mikro-časování; tato nastavení se nacházejí ve vyhrazené části vertikální linie ve vašich výrobních pracovních postupech. Otestujte řadu tonálních profilů a použijte inteligentní, kreativní úpravy, které udržují podněty jemné, ale vnímatelné. Jasně označte jakékoli deepfake prvky, abyste zachovali transparentnost, s dodatečnými podněty zaznamenanými pro pozdější revizi.
Během revizí provádějte A/B testy a exporty výsledků jedním kliknutím; sledujte metriky, jako je jasnost, vnímaný záměr a zapamatovatelnost. Použijte pravidlo prahového úspěchu/neúspěchu k rozhodnutí, která varianta postupuje dále, a zdokumentujte důvody, abyste zabránili odchylkám.
Zpětná vazba ze sociálních sítí se stává finální branou: sbírejte komentáře a sentiment a analyzujte, zda diváci opakovaně sledují scény, aby potvrdili rezonanci. Pokud signály ze sociálních sítí ve scéně poklesnou, upravte tempo, časování dialogů nebo intenzitu podnětů a znovu otestujte v rámci stejné sekce.
Produkujte těsnou smyčku iterací: po ověření aktualizujte scénáře, dolaďte sladění tónu a znovu spusťte testy; usilujte o stabilní základní linii, kde odhalení zůstává věrné záměru tvůrce.


